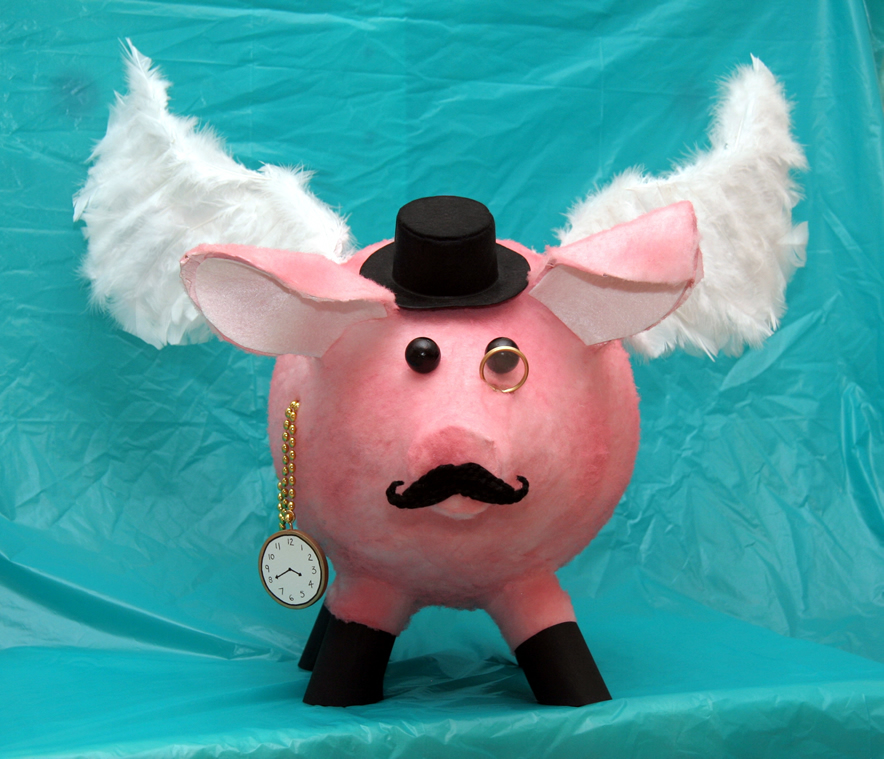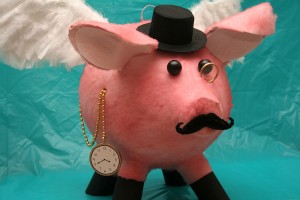
Pig piñatas are pretty easy to make – whenever I make piñata forms for kids to decorate at some event, I usually go with a pig. Your basic pig only requires one balloon, some toilet paper tubes, and some thin cardboard for ears. Then you can go as simple or as detailed as you like in the decorating. With the Gentleman Pigasus I pretty much went whole hog. heh. Here’s how I made my Pigasus piñatas.
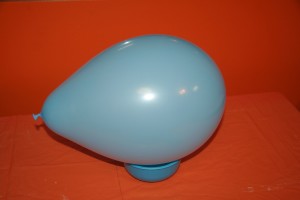
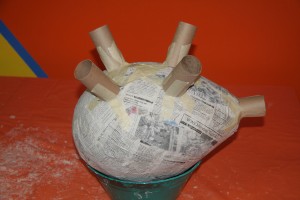
I started with a regular 12” party balloon. I wrapped it in newspaper, then put on a couple layers of papier mâché.
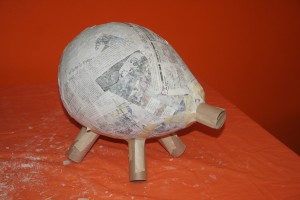
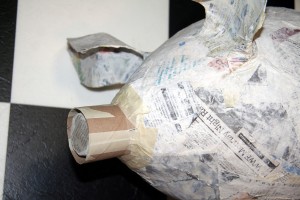
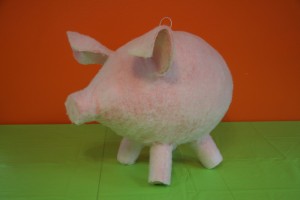
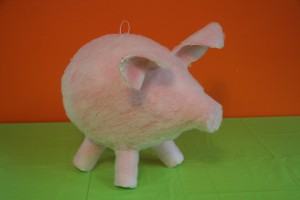
Then I taped on four toilet paper tubes for legs, and a shorter tube for a snout. You can tape the toilet paper tubes on before you papier mâché the balloon, but when I made some pigs this way once the whole thing was less sturdy during construction and came out bumpier all around. If you’re decorating with snipped crepe paper those bumps will all be covered, but if you have the time to papier mâché the balloon first, then that’s the way I’d recommend doing it.
The legs might seem long and thin right now, but the decorating will thicken up the legs. The hooves will also break up the color on the legs, making them appear shorter.
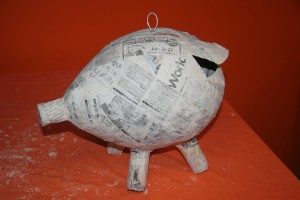
After the snout and legs were strengthened with papier mâché, I cut a hole in the ham and installed the hanging hook. I closed up this hole before I decorated the piñata. I’ll have to cut another hole later to fill the piñata, but I wanted to be able to smoothly decorate over the entire body.
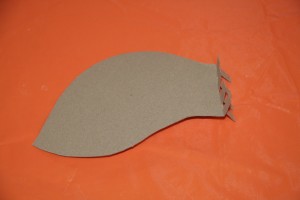
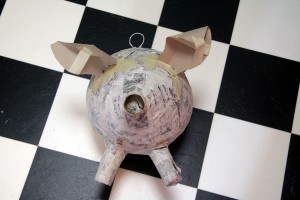
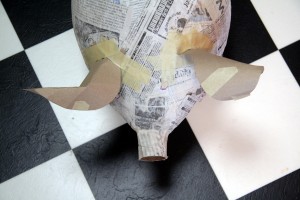
The ears were cut from thin cardboard and taped on. I’ll bend the ears over before applying the papier mâché to make them look more lifelike. Okay, more adorable. It’s pretty obvious I’m not going for lifelike here.
Masking tape holds the shaped ears in place for now. After I papier mâché over them I will cut the masking tape away.
Here’s a top view of the ears.
And a front view. The ears are flexible right now, but after covering them with papier mâché they’ll be rigid. If the ears are able to move at all they can weaken at the base and flop downward.
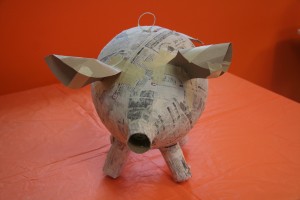
The ears are done, but at this point I decided the snout looked too small. I cut a wider-diameter piece of cardboard tube from a wrapping paper roll and taped it on right over the thinner one, then covered it with papier mache.
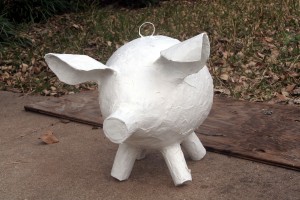
The papier mâché work is done and I’m ready to decorate.
I painted the whole pig with a stain-blocking primer to cover the newsprint. This step isn’t necessary if you’re using crepe paper to decorate your pig, but I’ll be using paint and quilt batting. Quilt batting is a thin sheet of polyester that looks and feels like cotton.
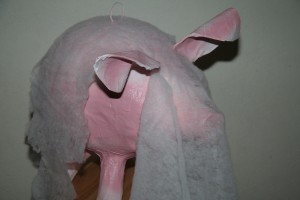
I gave the pig a spotty undercoat with pink spray paint, then I’ll cover it with quilt batting. This part is easier than it looks, because you just spray on the adhesive, press the quilt batting in place, and cut it where it starts to overlap itself. The seams will be mostly hidden by the texture of the quilt batting and by a light dusting of spray paint after the quilt batting is on.
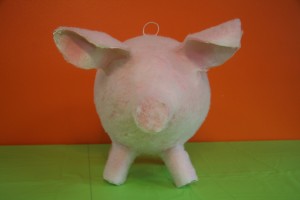
Here’s the pig after the quilt batting is glued on. You can’t see the seams here, and even in real life you have to look pretty closely to find them.
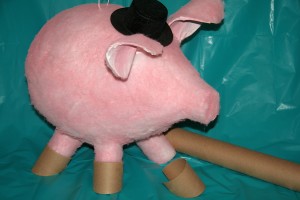
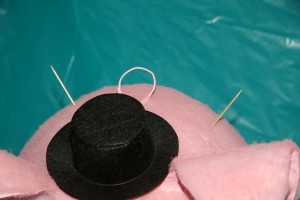
The pig now has a light coating of spray paint over the quilt batting to bring out the color more. The hooves were cut from a wrapping paper tube, then wrapped in black card stock. The bottoms of the feet were still exposed, so I added a bottom to the hoof using black card stock. When the hooves were done I just pushed them onto the legs and they stayed on with no glue. The pig’s hat was bought from a craft store. It would have been easy to make a hat out of paper and felt like I did for the witches on the Jack-o’-lantern piñata, but this one was cheap and was already the right size.
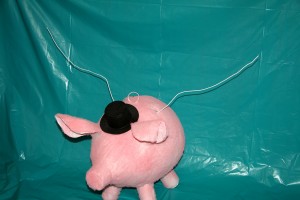
Attaching the wire frame for the wings was the trickiest part. I stuck two toothpicks into the pig’s back to figure out where the wire needed to go. Then I poked those holes all the way through and enlarged them a little.
I cut the hook off a shirt hanger and straightened it out, then stuck it into one hole and fished around inside the pig until I was able to get it to come out the other hole. It probably took me 20 minutes to get it, but I didn’t want to make the hole too large. The wire was then bent into shape to form the backbone of the wings. I closed up the holes around the wire with hot glue to hold the wires in place.
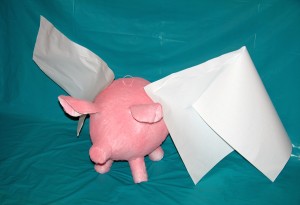
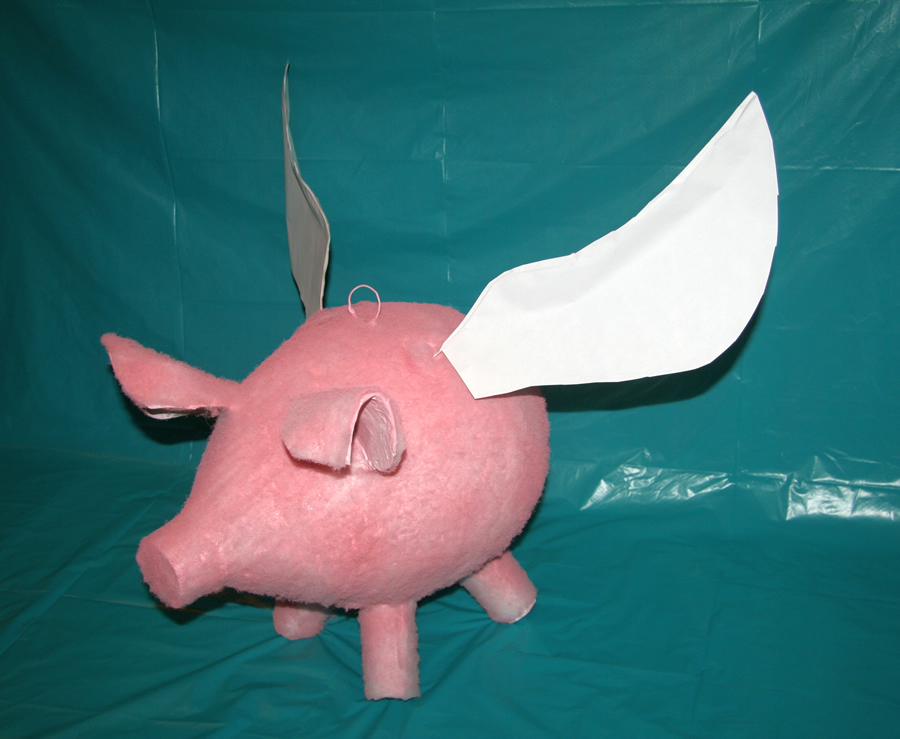
I taped paper onto the wire frame from the back using Scotch tape and cut it into a wing shape. The two wings weren’t symmetrical, so I chose the one I liked best, traced two copies of it, and taped those onto the wires.
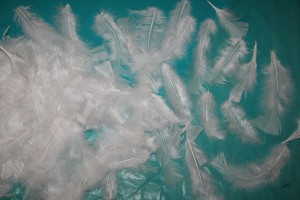
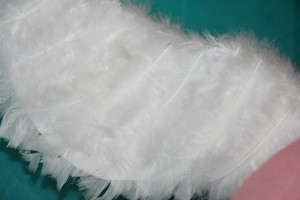
The wings will be covered in small white feathers from a craft store.
To attach the feathers I covered each side of the wing completely with double-stick tape, and then just pressed the feathers on.
In some places the paper still showed through, so I put a piece of double-stick tape on another feather and pressed it on right on top of the first layer of feathers. The tops of the wings still looked a little rough, so I cut off the little sticks at the top of each feather, then covered the top of each wing by laying feathers along the top of the wing and gluing them there with a line of Elmer’s glue.
With the wings finished, all that was left was accessorizing the pig. The wings were by far the hardest part of all this, so if you make a regular non-aerial pig the decorating will a lot faster.
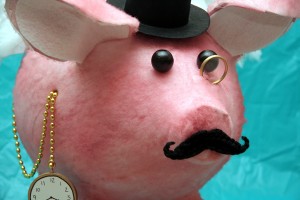
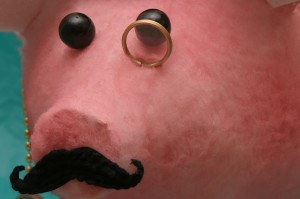
The eyes are smooth Styrofoam balls painted black. I poked toothpicks into the Styrofoam balls to make them easier to paint, and then stuck those toothpicks through the face of the pig to attach the eyes to the face. The eyes aren’t glued on, it’s just the toothpicks holding them in place.
I cut out a mustache from black card stock, then used Elmer’s glue to cover the front side of the mustache with black yarn. When the glue was dry I trimmed the rough edges of the yarn using scissors. I used a dab of hot glue to attach the mustache to the pig’s snout.
The monocle is a large key chain ring spray painted gold. I cut a circle out of a sheet of clear Mylar and slid it into the ring to serve as the glass of the monocle. To attach the monocle I cut a small notch in the pig’s face using a razor blade and hot-glued the key ring into it.
The insides of the ears are covered in white felt, glued in using Elmer’s glue.
The pocket watch is a 2¼ inch (57 mm) wooden disk from a craft store, spray painted white and gold, with a face drawn on in black Sharpie marker. The chain was cut from a plastic bead necklace. To attach the chain to the pig I made two small horizontal slits in the pig’s side with a razor blade and pushed one bead of the chain through the hole. There is no glue holding it in place.
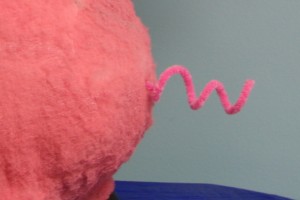
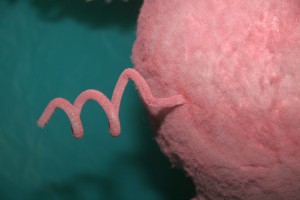
The tail is a white pipe cleaner that I lightly spray painted pink using the same paint I used for the pig’s body. It is also not glued in, just stuck into a hole.
And I say old fellow, the Gentleman Pigasus came out very much the way I imagined it.
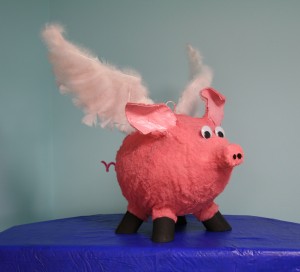
I made a simpler Pigasus piñata a few years earlier, but I did some things differently this time when I made the Gentleman Pigasus.
The biggest difference was that when I made the first Pigasus I didn’t prime it first to cover the newsprint before gluing on the quilt batting. The newsprint showed through the quilt batting and I had to cover the entire pig’s body with pink spray paint. This heavier coating of paint changed the texture of the pig’s skin and I lost some of the softness of the quilt batting.
On the first Pigasus I used a pink pipe cleaner for the tail, but the pink colors didn’t quite match. On the Gentleman Pigasus I used a white pipe cleaner and lightly spray painted it to match the pig’s body.
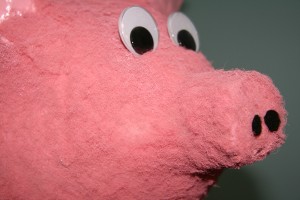
I originally planned to use googly eyes on the Gentleman Pigasus piñata, but that would have required a much larger monocle and I was afraid the two-color eyes would distract from the monocle. I needed smaller and simpler eyes so I went with painted Styrofoam balls instead.

