Piñata Boy
  • Home
  • Gallery
    • Alien
    • Jaguar
    • Princess Ducky
    • Alien Planet
    • Jimmy Kimmel Live
    • Rainbow Zebra
    • Demon Smiley
    • Medusa
    • Santa Smiley
    • Dolphin
    • Neopets – Feepit
    • Shark
    • Football
    • Neopets – Shoyru
    • Smaug
    • Ghost and Bat
    • Parrot
    • Stegosaurus
    • Green Dragon
    • Pigasus
    • Tarantula
    • Heart
    • Pirates of the Caribbean
    • Tropical Fish
    • Hello Kitty
    • Pokeball
    • Warlord of Nibblecheese
    • Jack-o-Lantern
    • Porcupine Pufferfish
    • Coloring Pages!
    • Jill-o-Lantern
  • Make Your Own
    • Before you start
    • Adding the hanging hook
    • Smashing your piñata
    • How to make a piñata
    • Decorating your piñata
    • Storing your piñata
    • Working with balloons
    • Decorating with crepe paper
    • Simple Piñatas
    • Working with cardboard
    • Cutting the candy opening
    • Step-by-step instructions
    • Working with papier mâché
    • Making a piñata stick
    • Ask a Question
  • Show Us Yours
  • Blog
  • About

Stegosaurus Piñata

(click photos to see enlarged)
Stego 01

Because you can never go wrong with a dinosaur piñata! 

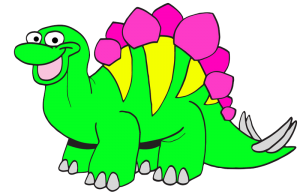
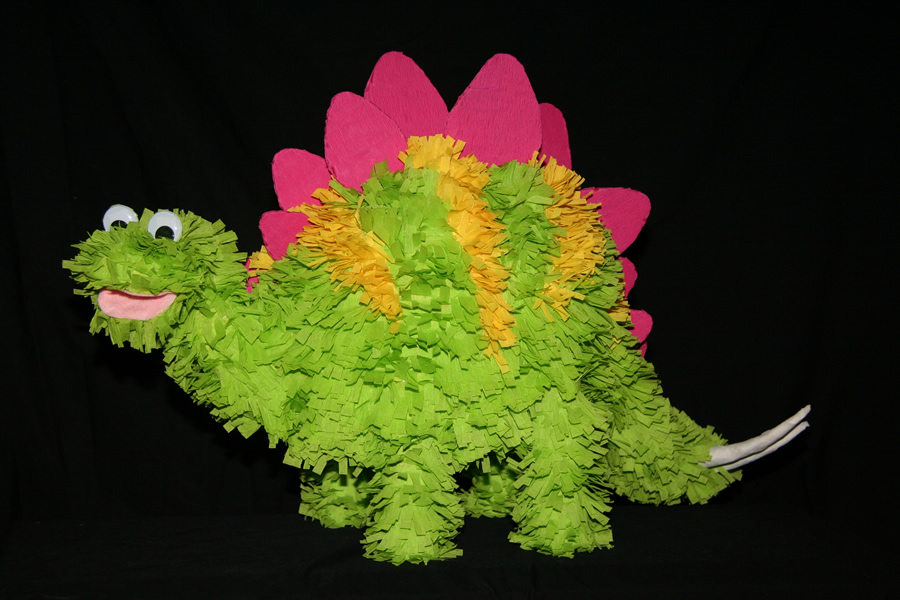
When it came time to make a dinosaur piñata, we chose a stegosaurus because it’s immediately recognizable and offers a lot of opportunities to add details, color, and texture. Kerry and I made this one for a presentation we gave at the University of Texas.

To see how this one was made, click through to the Make a Stegosaurus page.

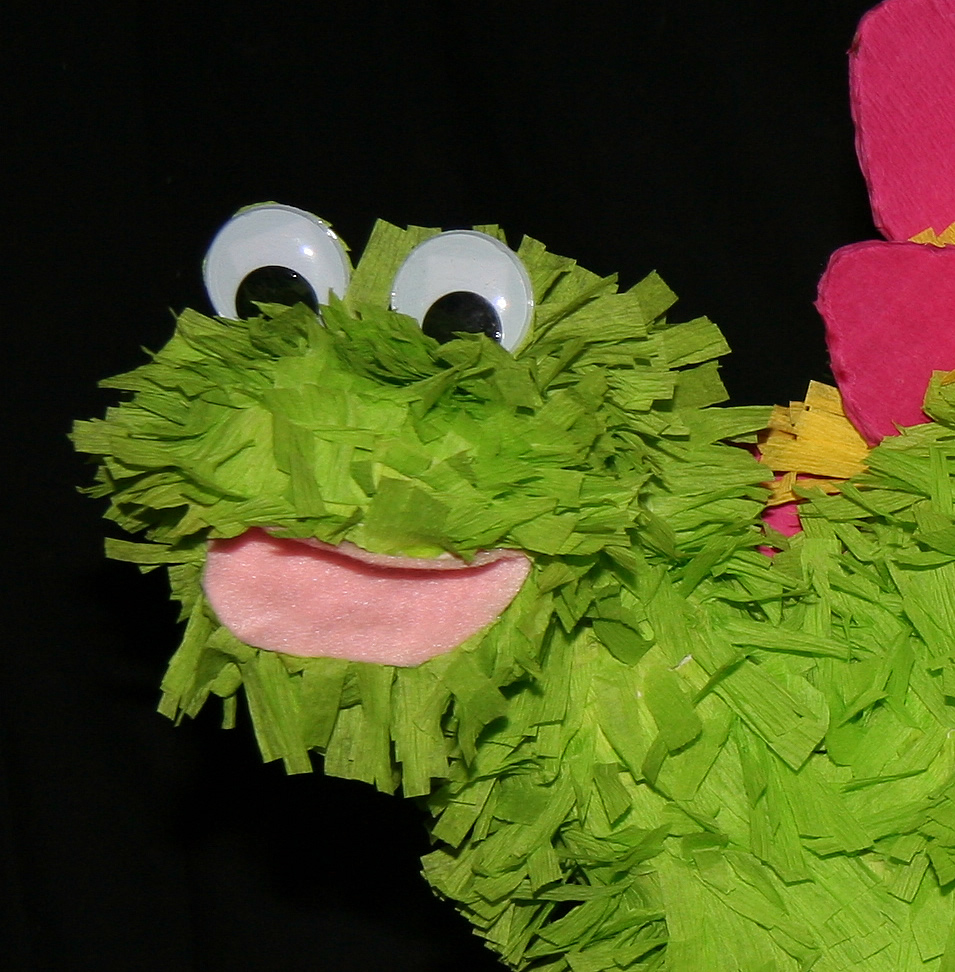
To make the googly eyes stand up, we made a small hinge by folding a rectangle of card stock into an L shape. We glued the upright side of the L onto the back of the googly eye and glued the base of the L onto the piñata. Then we hid the backs of the googly eyes by gluing on some crepe paper.

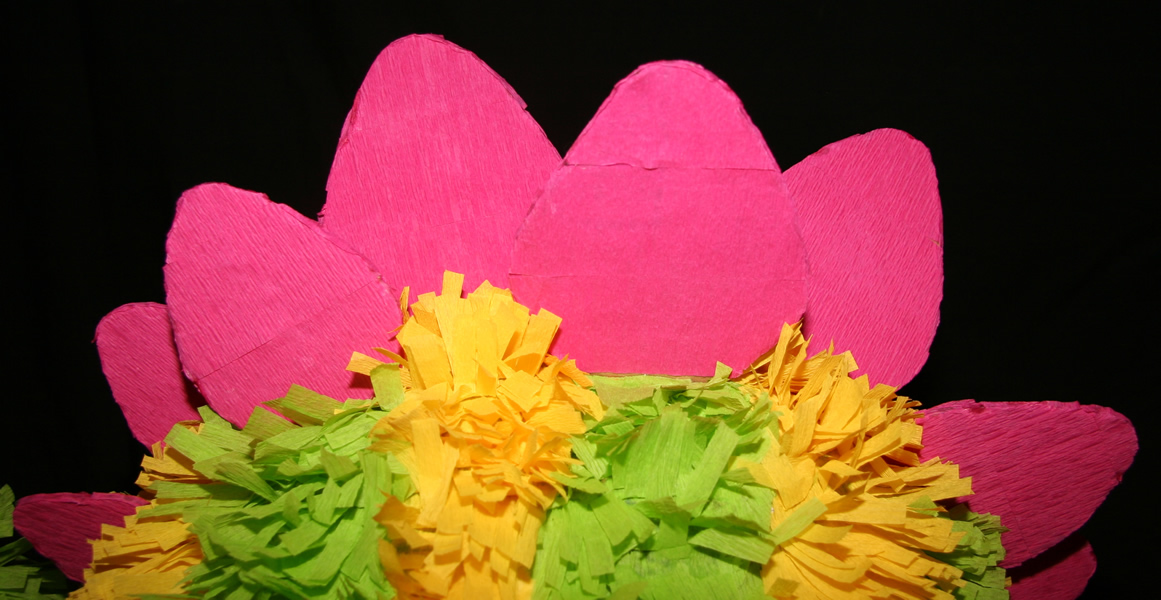
If you look closely you can see the edges of the crepe paper on the plates, but the whole piñata has so much going on that it helps distract the eye away from little construction artifacts like this.

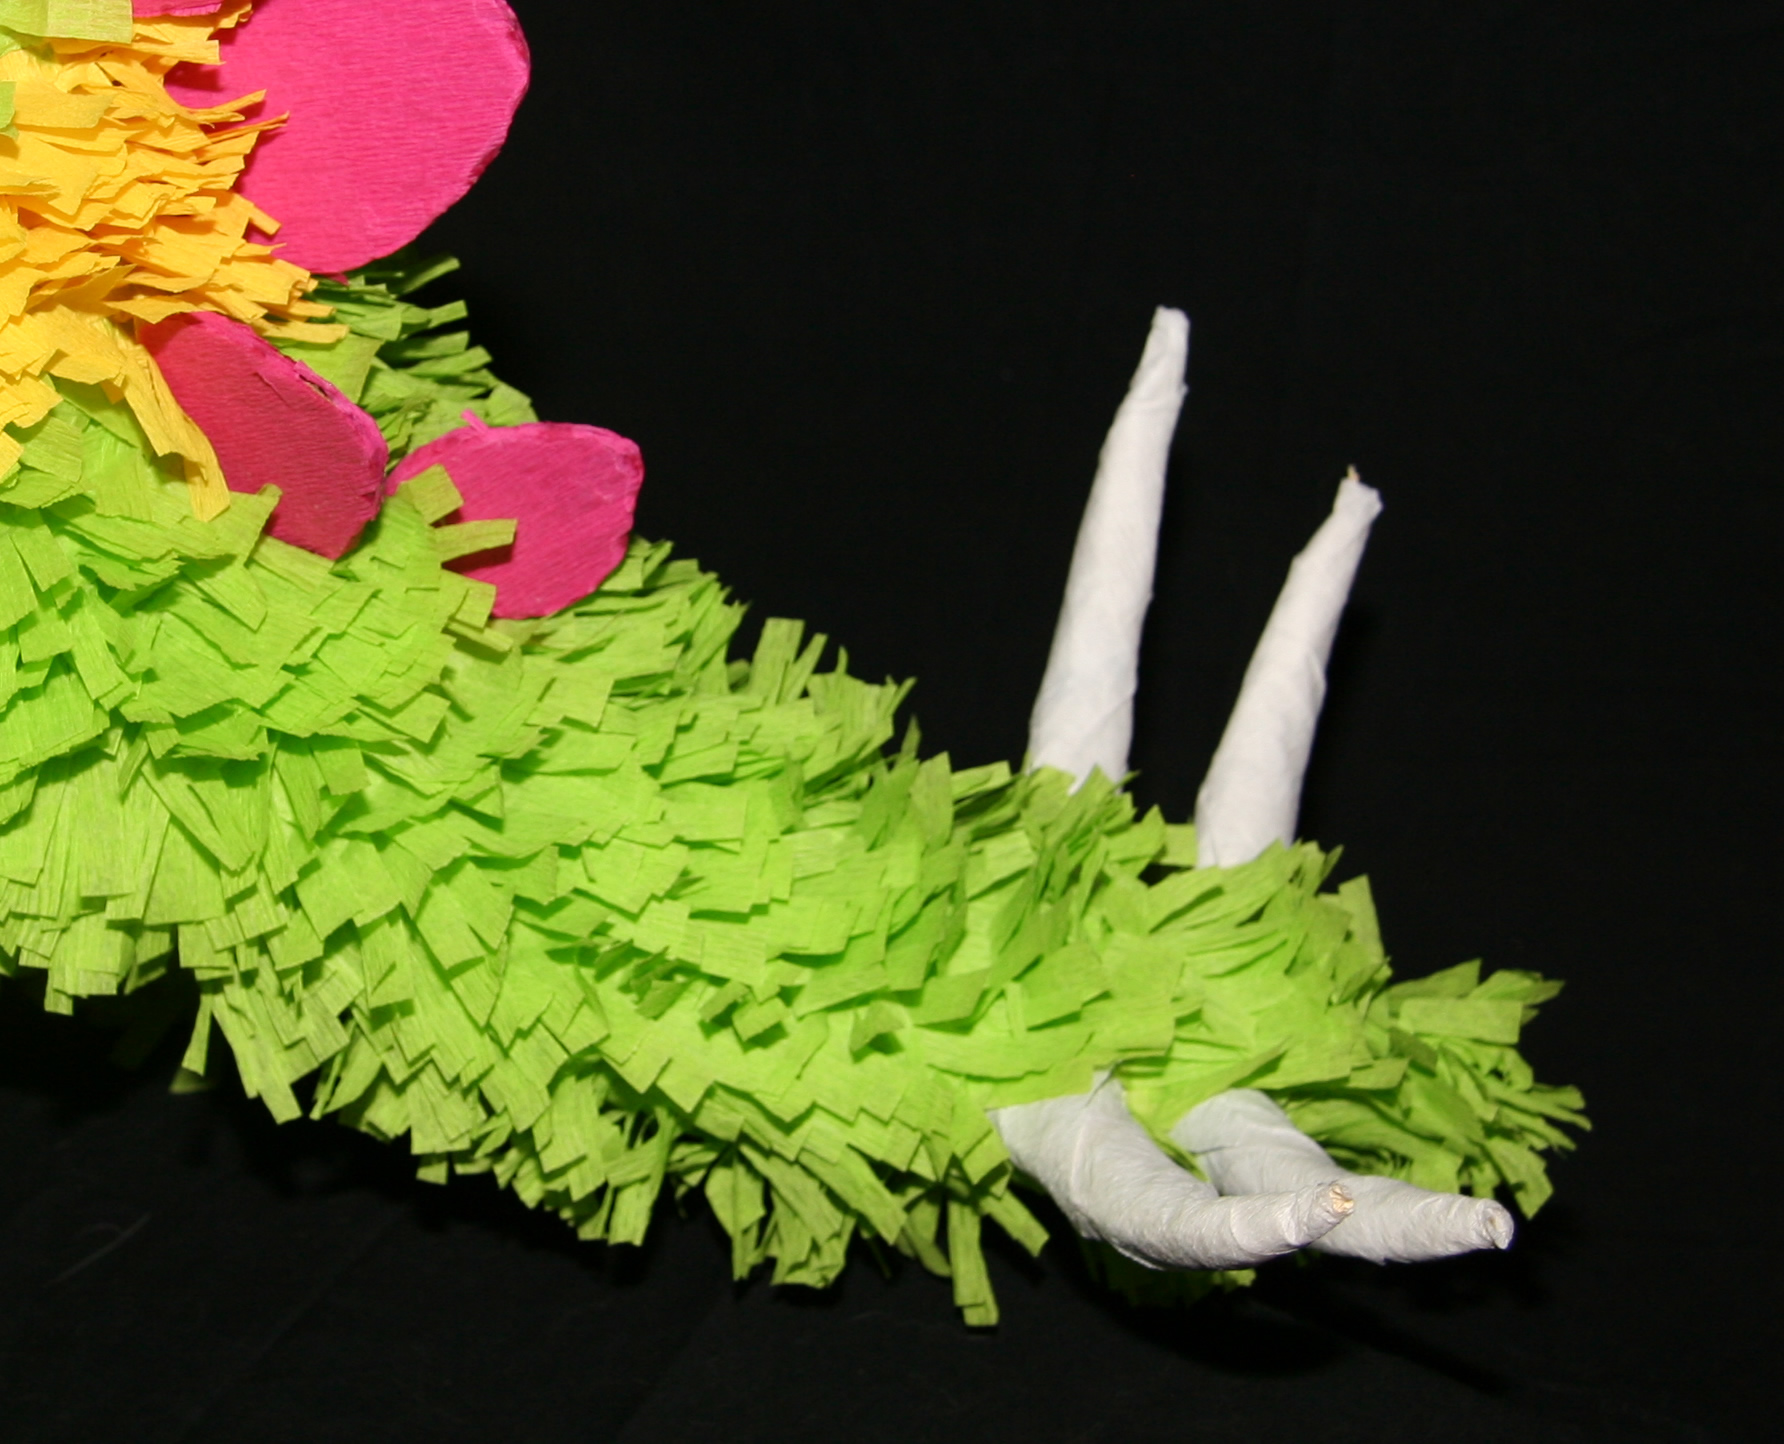
The spikes were made from paper cones that were stuffed with cotton. If I’m remembering right, we just taped them on and decorated over them without using any papier mâché, just like we did with the horns on Kerry’s Demon Smiley piñata.

I was really happy with the way this one turned out. It took a little longer than we expected because we had to make adjustments to the head/neck and the tail. We also weren’t sure how we were going to do the plates. It happens quite often that we start working on a piñata without knowing how we’re going to do part of it, but all you can do is start working your way there and let your imagination come up with a solution along the way. It usually does.

<< Parrot
Ghost and Bat >>
Back to Gallery
Piñata Boy
All materials © 2025 Piñata Boy. All rights reserved. Web site by Websy Daisy.

MENU
  • Home
  • Gallery
    • Alien
    • Alien Planet
    • Demon Smiley
    • Dolphin
    • Football
    • Ghost and Bat
    • Green Dragon
    • Heart
    • Hello Kitty
    • Jack-o-Lantern
    • Jaguar
    • Jill-o-Lantern
    • Jimmy Kimmel Live
    • Medusa
    • Neopets – Feepit
    • Neopets – Shoyru
    • Parrot
    • Pigasus
    • Pirates of the Caribbean
    • Pokeball
    • Porcupine Pufferfish
    • Princess Ducky
    • Rainbow Zebra
    • Santa Smiley
    • Shark
    • Smaug
    • Tarantula
    • Stegosaurus
    • Tropical Fish
    • Warlord of Nibblecheese
    • Coloring Pages
  • Make Your Own
    • Before you start
    • How to make a piñata
    • Working with balloons
    • Working with cardboard
    • Working with papier mâché
    • Adding the hanging hook
    • Decorating your piñata
    • Decorating with crepe paper
    • Cutting the candy opening
    • Making a piñata stick
    • Smashing your piñata
    • Storing your piñata
    • Simple Piñatas
    • Step-by-step instructions
    • Ask a Question
  • Show Us Yours
  • Blog
  • About