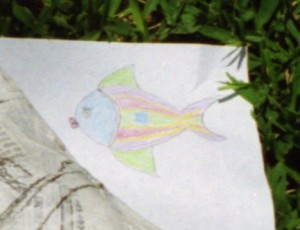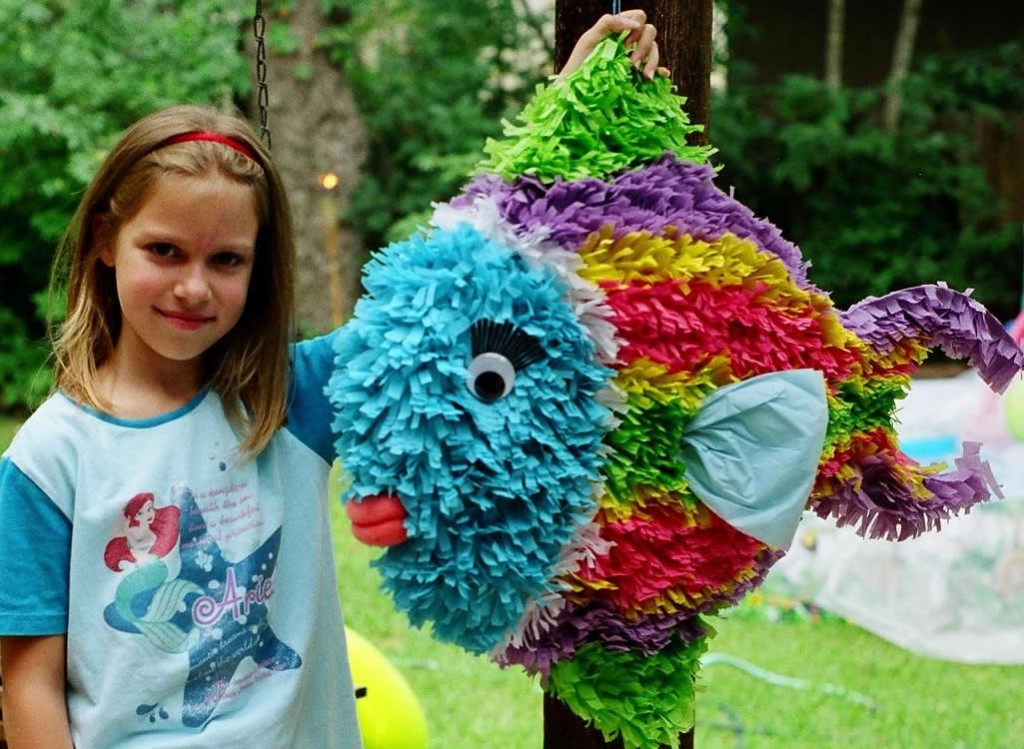
She drew it.
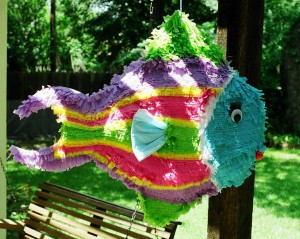
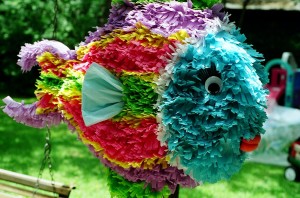
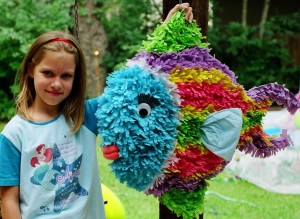
I built it.
Here’s how.
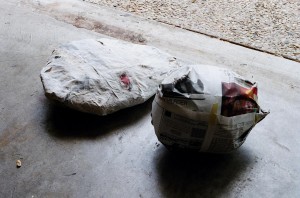
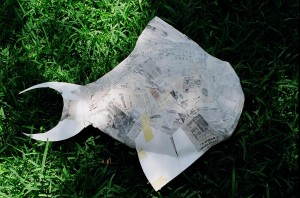
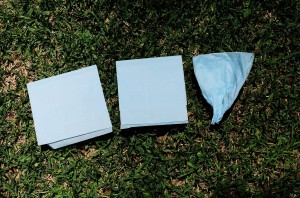
The body was made by looping a long, thin balloon into a circle, wrapping it loosely in newspaper, and then stuffing the newspaper with wadded up newspaper to fatten it up. I squashed it and shaped it as best I could, but you can see that it’s still bumpy. That’s okay, the fluffed crepe paper will hide the bumps. I could have used an ordinary party balloon for the body of the tropical fish, but I was working off Amy’s picture, and she had drawn a tall, narrow fish. The round balloon sitting next to the tropical fish will eventually become a Porcupine Pufferfish.
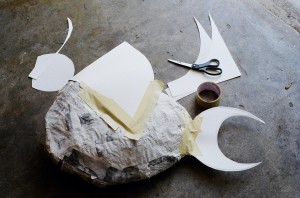
I cut the tail and dorsal fin out of poster board and taped them on with masking tape.
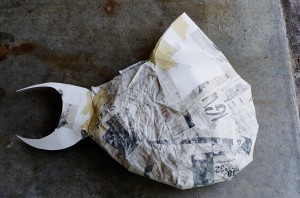
After cementing on the tail and dorsal fin with papier mâché, I thought the nose of the fish looked a little blunt, so I padded it with newspaper. Please excuse the rust stains on my garage floor in these photos. We don’t have that car anymore.
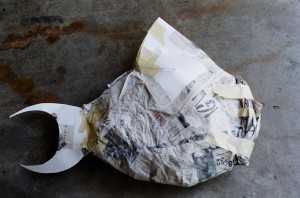
The pelvic fin was added just like the dorsal fin was.
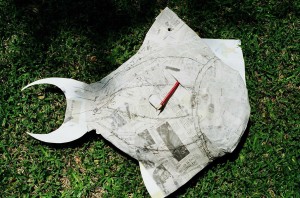
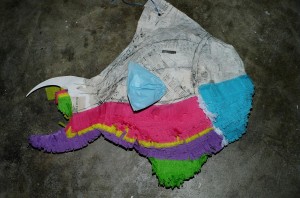
The papier mâché is finished and I’m ready to start decorating. I pencilled in some color guidelines to follow before I started adding crepe paper. I also scored the side all the way through to create a weak spot because I felt the walls were a little thick for the kids. The pencil is sticking out of a score line.
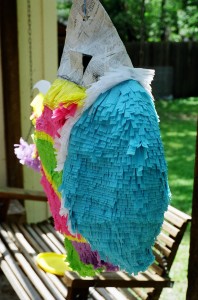
Notice that I punched a hole in the dorsal fin and hung the piñata from that hole. I wouldn’t do that today – if anyone landed a hit on that fin it would be too easy for the hole to tear through and drop the piñata to the ground. But it was a pretty lightweight piñata and they were pretty lightweight kids, and I got away with it this time.
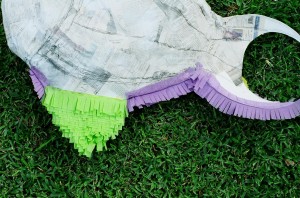
Decorating starts at the bottom. Each side of the fish was decorated separately, but I didn’t want newspaper showing through where the two sides met at the bottom, so the first thing I did was cover the bottom of the fish with a solid piece of purple crepe paper. When the sides are fluffed, instead of anybody seeing newspaper, they’ll see that purple crepe paper.
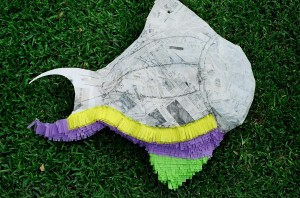
he crepe paper is glued on one layer above the next, working from the bottom toward the top like laying shingles on a roof.
The small pectoral fins on the side were made by cutting a square out of folded tissue paper and crushing it on one side. That crushed side gets stuck through a slit in the side of the fish. The fins were probably four sheets thick.
The pectoral fin has been inserted to make sure it works, then I took it out, decorated that section, and put it back in. It wasn’t glued in or anything.
The fastest way to glue snipped crepe paper onto a piñata is to get a pile of snipped pieces ready, then spread glue over an area on the piñata and lay down strips of crepe paper one after another before the glue dries. I’m working left to right in this photo, from the bottom of the fish to the top.
I cut a door for filling the piñata right at the top of the body and base of the dorsal fin. I’ll decorate over it, and when the crepe paper is fluffed, the door will be hidden.
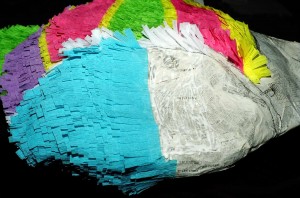
The decorating is complete, but the crepe paper hasn’t been fluffed up yet. To fluff it, I take a comb and gently comb the crepe paper fringe upward, working from the top of the piñata toward the bottom.
Fluffing up the crepe paper really helps bring the piñata to life.
I used googly eyes for the eyes and made eyelashes out of black cardstock.
The mouth is a red sponge ball that has been pinched with a thread to turn it into two lips.

