The hook is one of the most important parts of the whole piñata-making process. The hook has to support the weight of the filled piñata and it must also be able to withstand a direct hit from the stick. A lot of online piñata-making instructions tell you to punch two holes in the top of your piñata and run a piece of string through the holes, but I don’t recommend that. It might work for a lightweight piñata that isn’t hit very hard, but on a larger piñata the string will tear through the papier mâché and your piñata will crash to the ground.
The basic idea behind making an effective hanging hook is to spread out the hanging force over a wide area. I do this by attaching the hanging hook to a cardboard shield. I make my hanging hooks out of wire shirt hangers and corrugated cardboard.
Two important things to note:
1) Always twist your hanging hook into a closed loop. Never use an open hook (like an upside-down J), because piñatas get bounced around a lot and it’s easy for a J-hook to come off the rope.
2) When I’m installing a hanging hook on the inside of a large piñata, I don’t cut a hole where the hook will go because that weakens the papier mâché right where the hook will be supporting the weight of the piñata. Instead I cut a hole somewhere on the side, install the hook through there, and then close it up again.
Here are two examples of installing hanging hooks into piñatas:
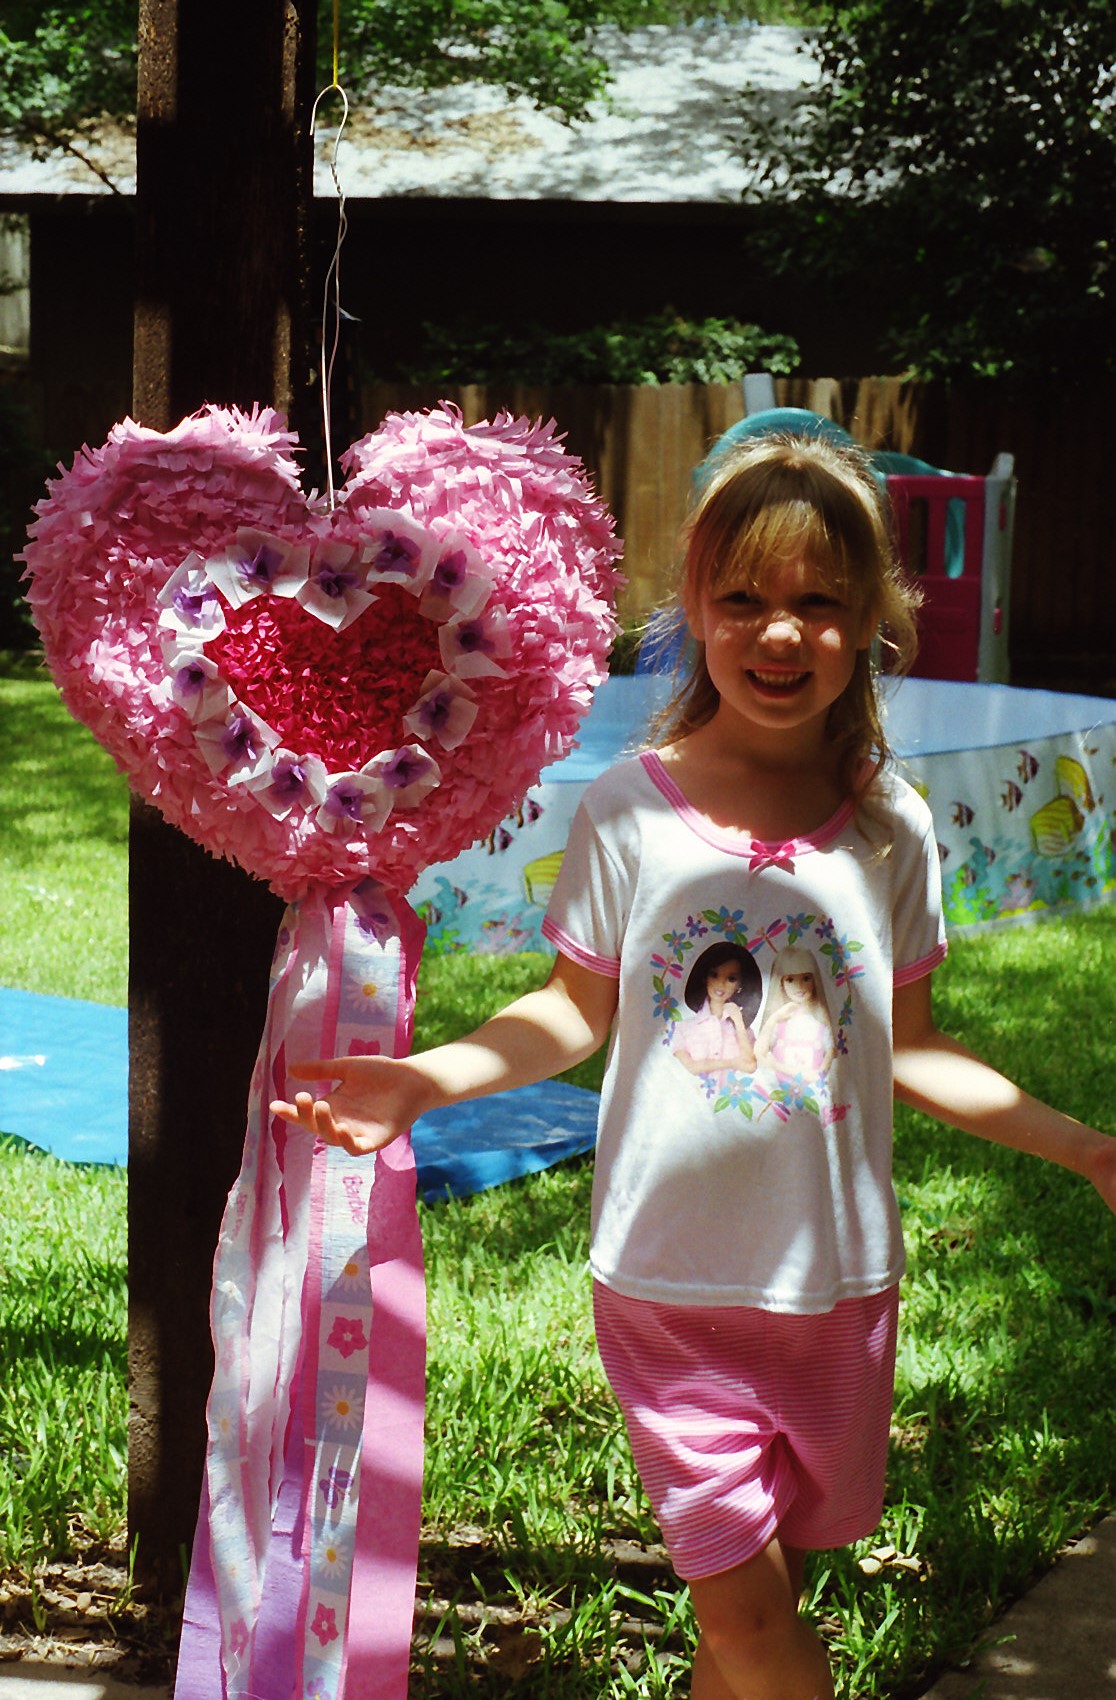
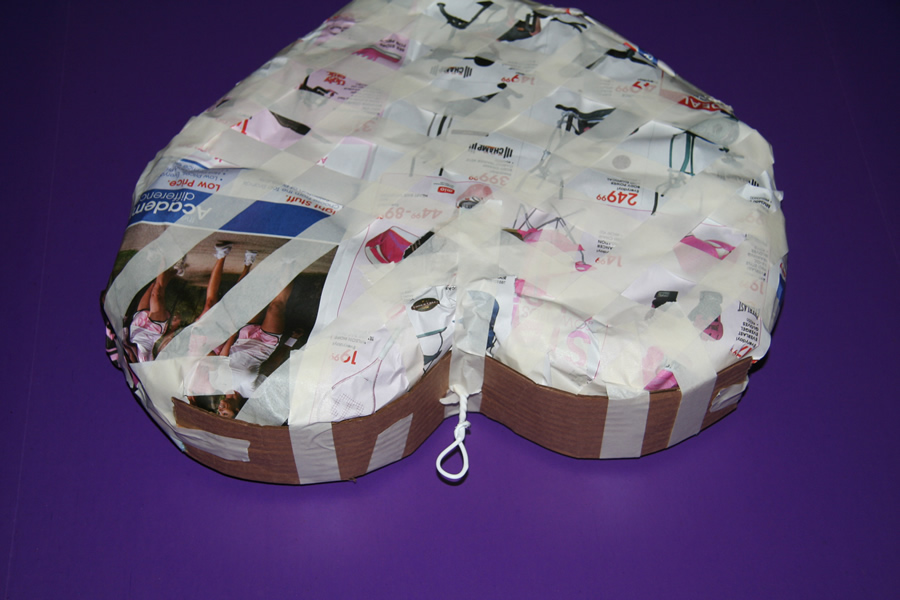
Heart Piñata
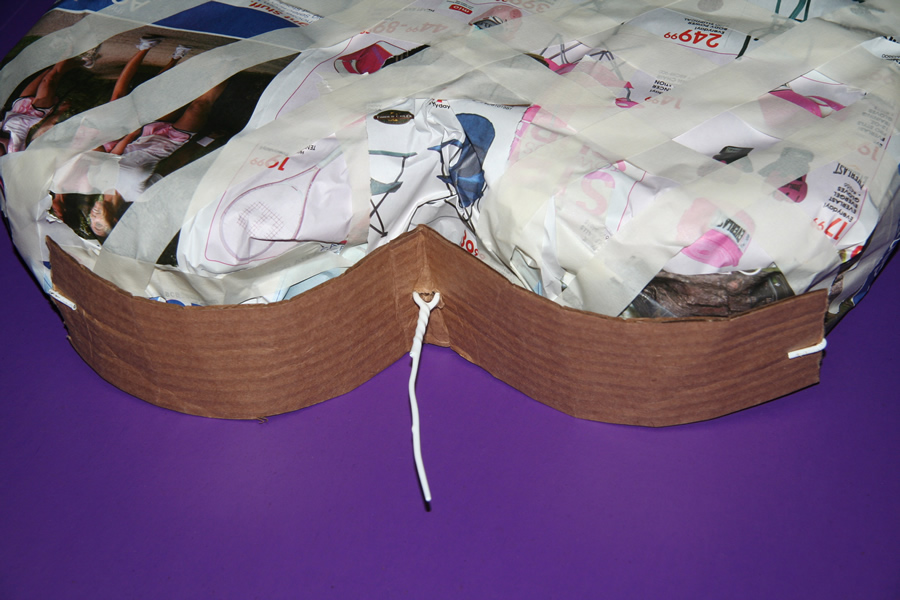
The hanging hook goes in the center of the top of the heart, so I went ahead and installed the hook after wrapping the balloons in newspaper but before doing the first layer of papier mâché.
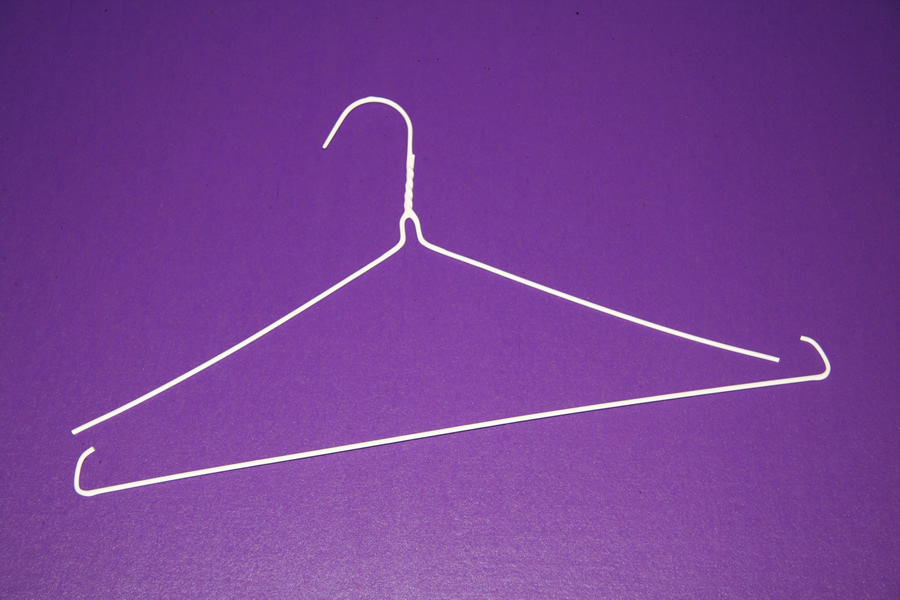
Get a wire shirt hanger and cut it off at the shoulders.
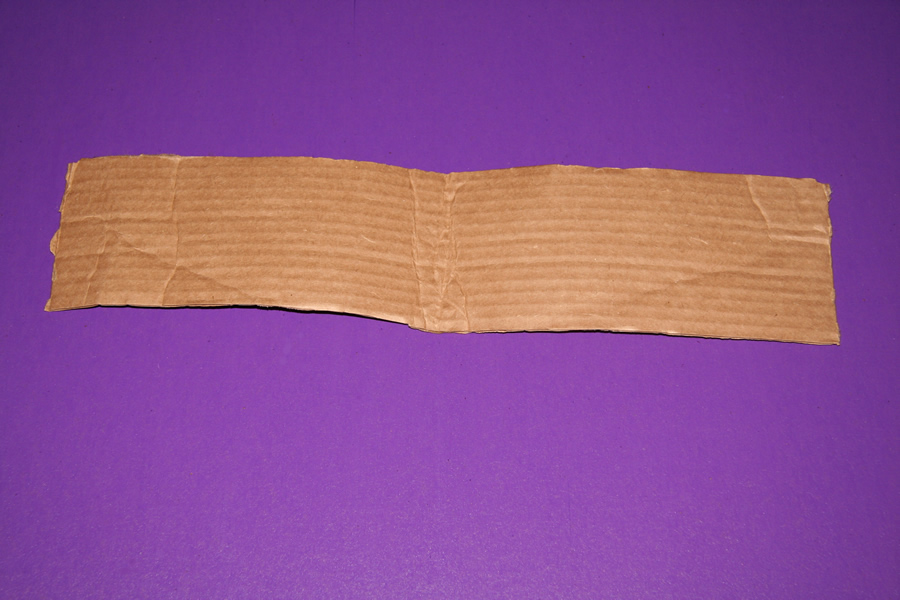
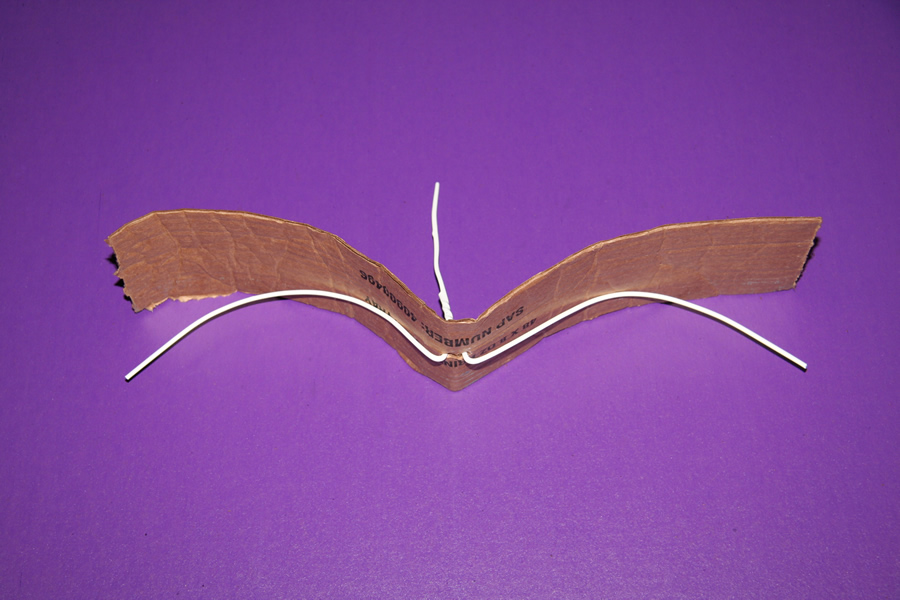
Get a piece of cardboard. Since the hook has to fit along the top of the heart, I used a long, thin piece of cardboard.
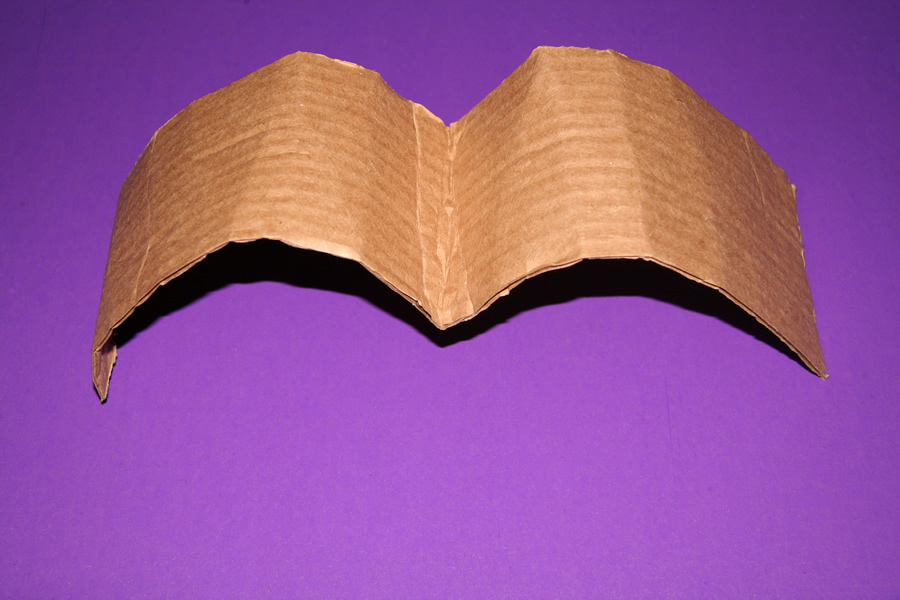
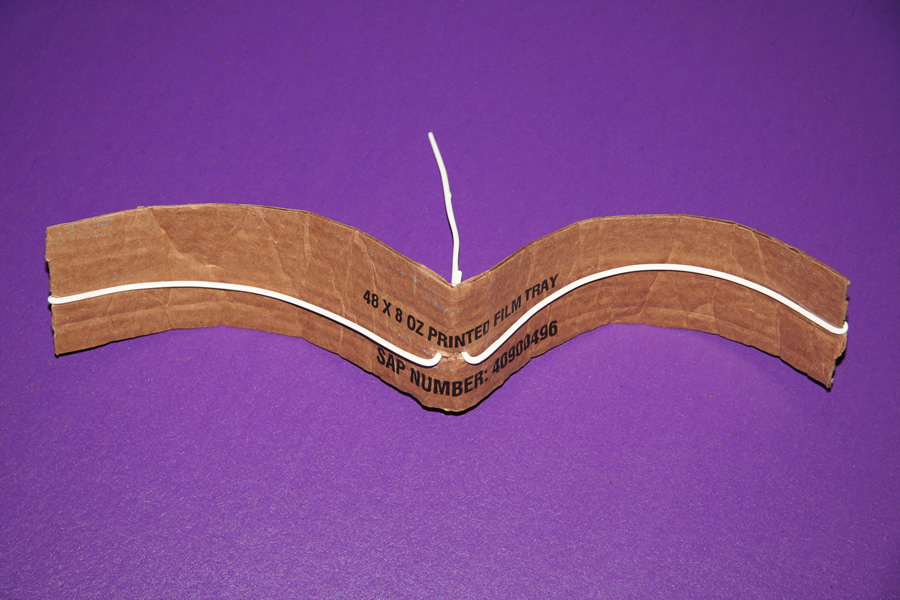
Bend the cardboard into the shape of the top of the heart, then stick the shirt hanger through the cardboard from underneath.
Using pliers, fold the tips of the hanger over the top of the cardboard. This bend holds the hanger and cardboard together. (Sometimes I duct tape them together as well.)
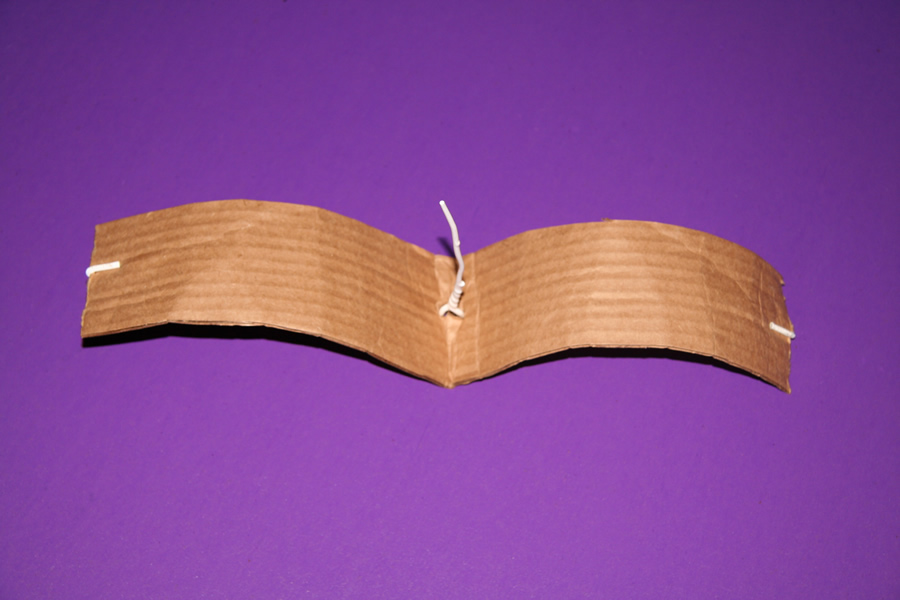
Tape the hook in place. I forgot to bend the hook into a closed loop earlier, so I did it here.
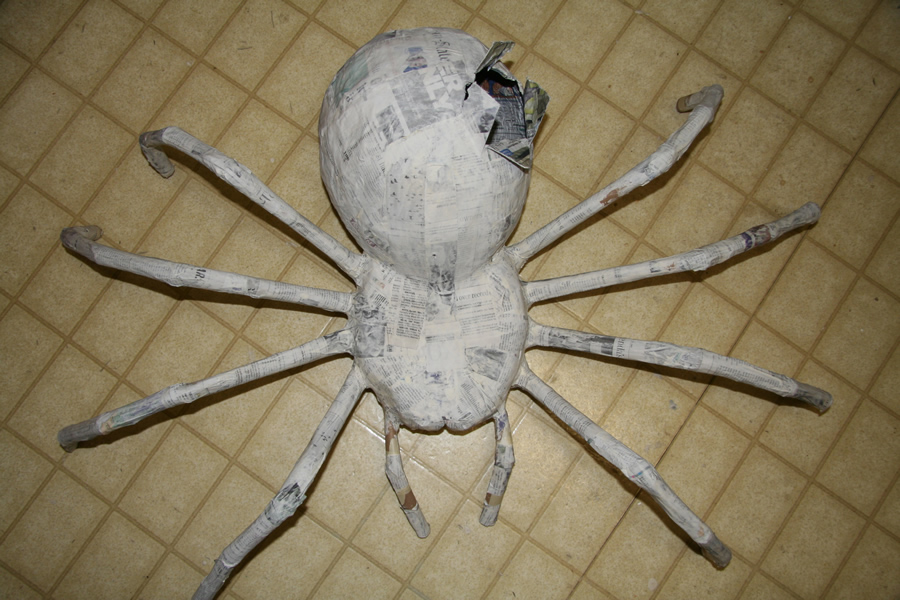
Tarantula piñata
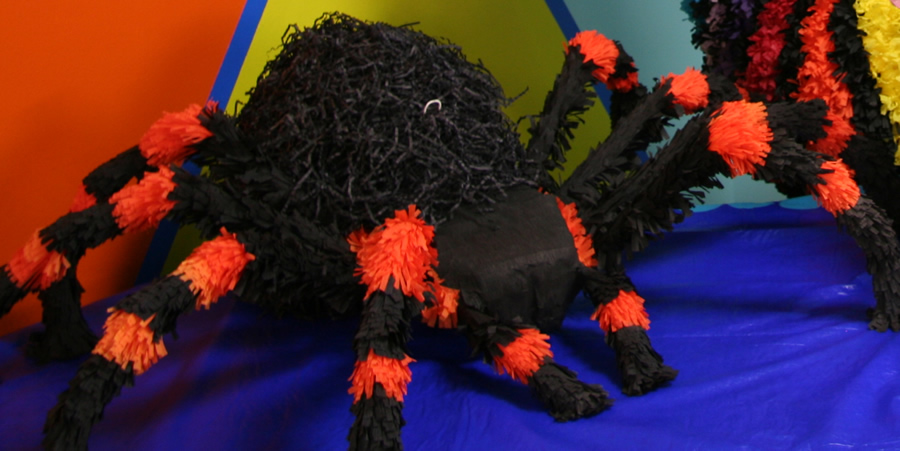 In this case the piñata has an irregular shape, so I didn’t know where to put the hanging hook until the papier mâché work was finished. I wanted the piñata to hang tilting slightly forward. To find the correct spot for the hanging point, I stuck a thin screwdriver into the piñata where I thought the hook should go and lifted it up. Through trial and error I found the spot where the hook should go in order for the piñata to hang the way I wanted it to. (Remember when you do this that the weight of the candy might change the center of gravity of the piñata.) Once I knew where the hook should go, I cut an opening in the side of the piñata and installed the hook from the inside.
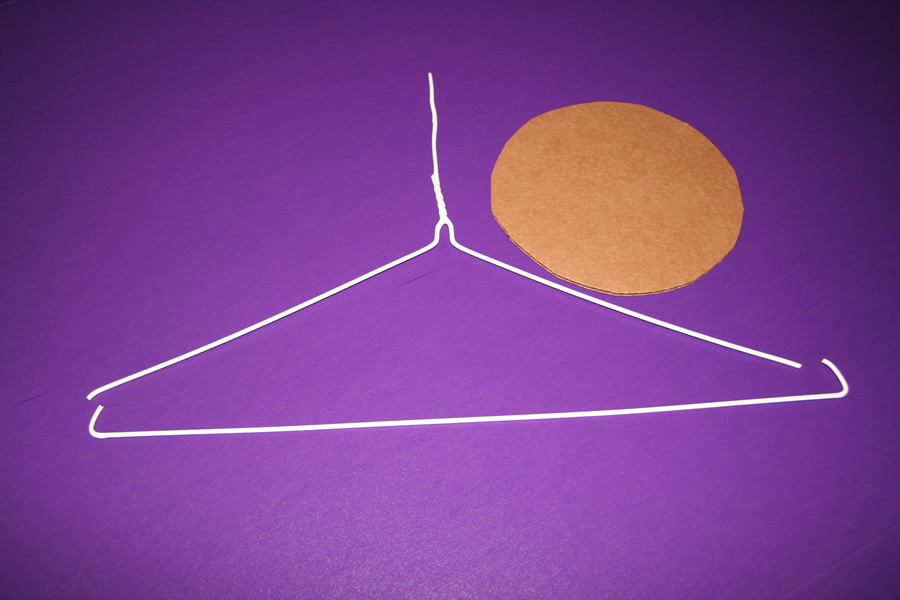
Again I started with a shirt hanger cut off at the shoulders and a piece of cardboard. It really doesn’t matter what shape the cardboard is, as long as it fits inside the piñata where you need it to go.
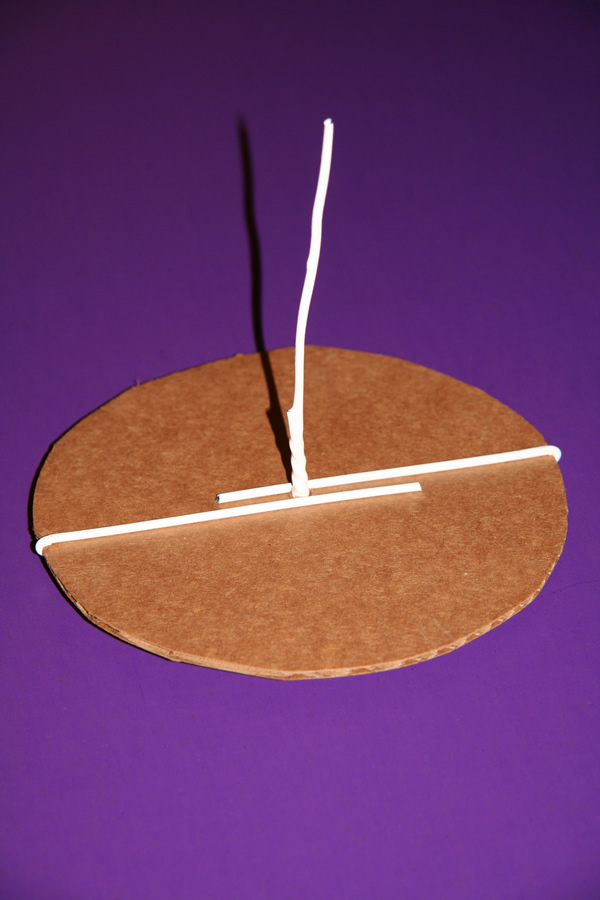
I poked the hanger through the cardboard and used pliers to bend the extra length around to the top of the cardboard.
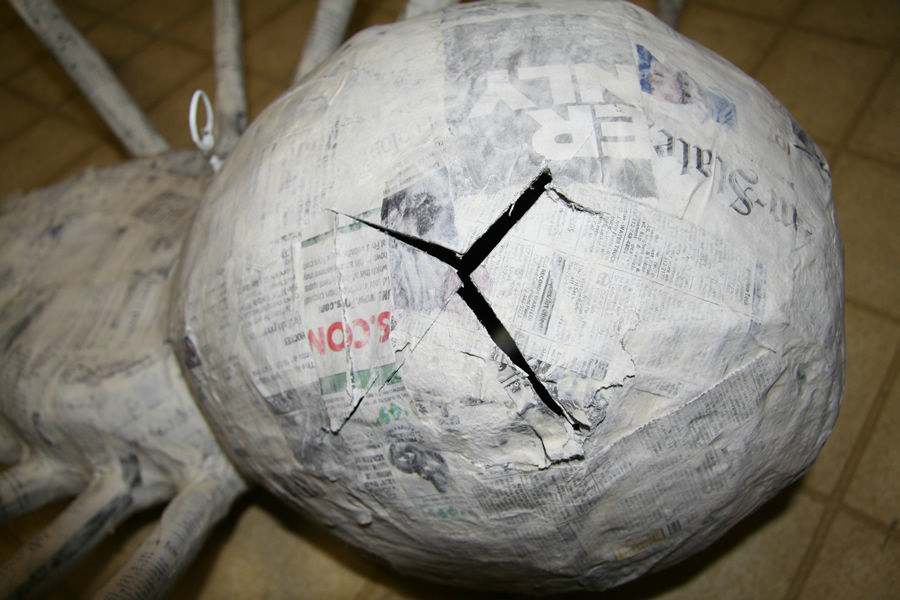
I cut an X in the piñata using a knife, then folded the flaps back to create an opening. On a lightweight piñata you can cut your opening where the hook will go, but this spider is too big for that.
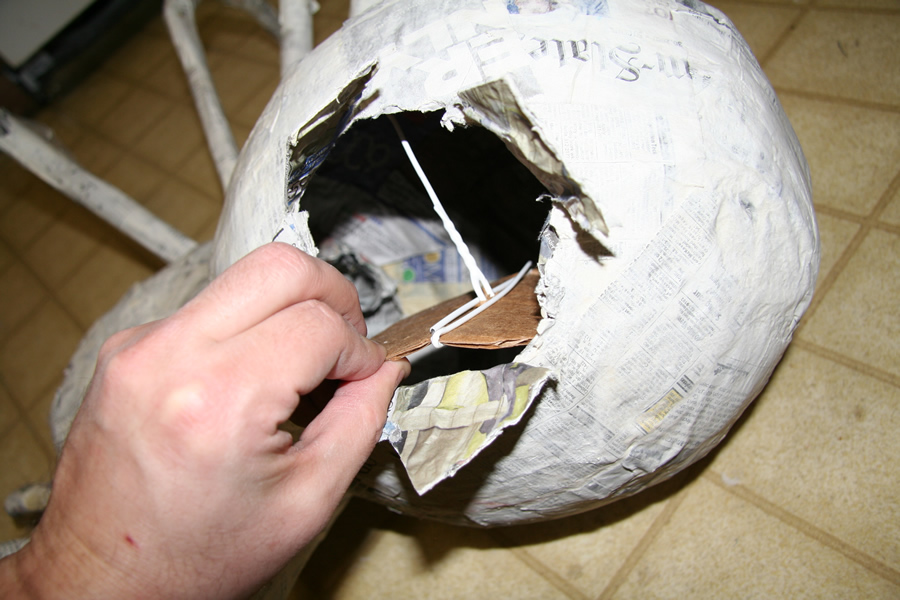
I inserted the hook through the opening and poked it out through the tiny hanging hole that I had made earlier with the screwdriver. I usually use hot glue or duct tape to hold the cardboard in place against the inside of the piñata. I did that here, but I didn’t take a picture of it.
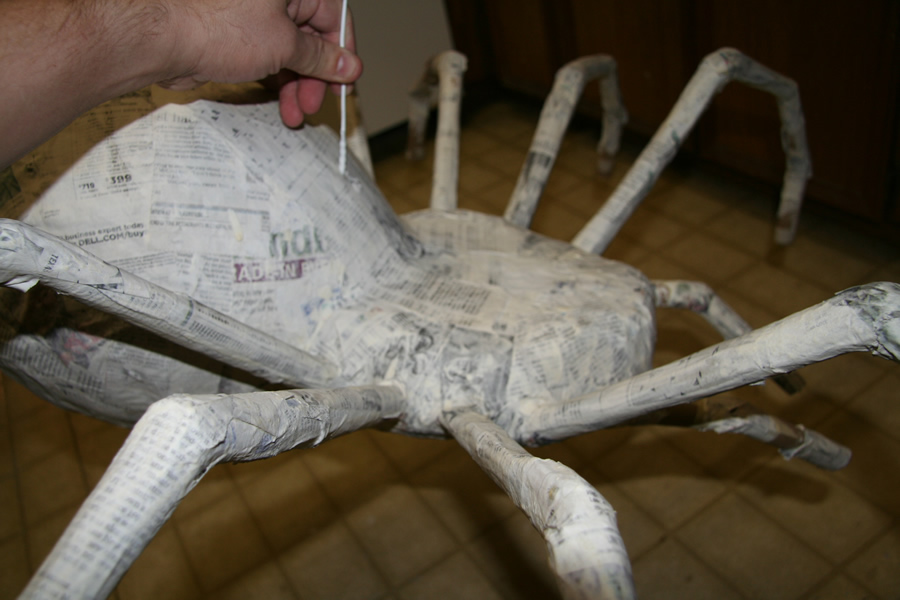
Lifting the piñata by the hanging hook ensures that it hangs the way I want it to.
I used pliers to curl the straight shirt hanger into a closed loop, then folded the flaps back down.
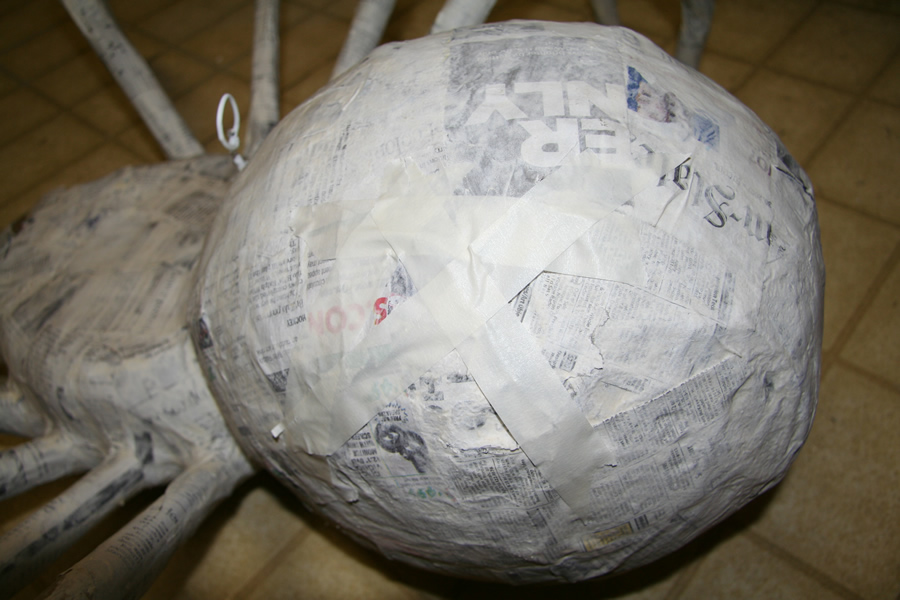
I put a couple pieces of masking tape over the cuts to keep them closed. This is now a weak point in the piñata. You can leave it that way and decorate right over the masking tape to create a major weak spot, or put down another layer or two of papier mâché to toughen it up a bit before decorating. Even if I want a weak spot there I usually put down one layer of papier mâché just to make sure it stays closed.
For another example of installing a hanging hook, click over to the Make a Stegosaurus page.
Don’t forget that in the end, all your hard work hangs by that hook. Don’t take it lightly. Always close off the loop, and make sure the papier mâché surrounding the hook is strong enough to bear the weight of the loaded piñata. If you’re making a thin-walled piñata for young children, make the top of the piñata thicker than the rest. The kids won’t be hitting it on the top and you don’t want the hook to tear through.