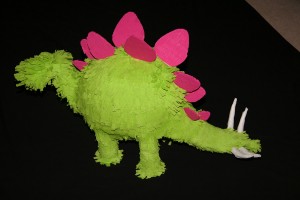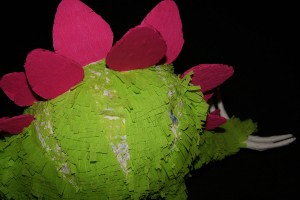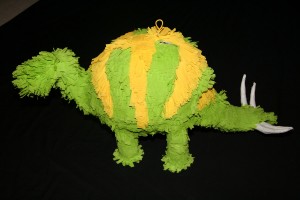
There are lots of ways to make a stegosaurus piñata. If you do an Internet search you’ll see many different stegosaurus piñatas. This is how Kerry and I made ours.
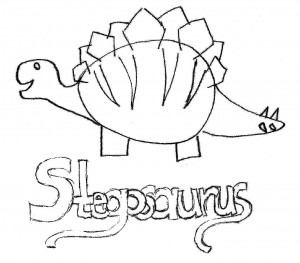
I always start with a picture to help give me an idea of what I’m making. The stegosaurus is made up of five parts: the head/neck, the body, the thick tail, the legs, and the plates on his back.
We used a regular party balloon for the body, another balloon for the head and neck, and a third balloon to make the tail. The legs were made from paper towel tubes and the plates on his back were cut out from cardboard.
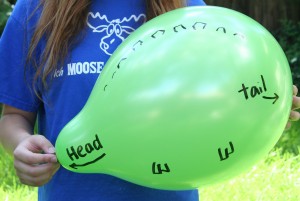
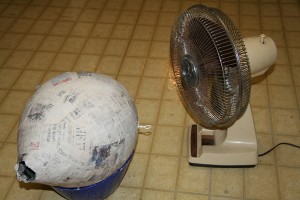
The body of the stegosaurus was just a 12” party balloon fully inflated. I’ve marked the head, the tail, the bony plates along the back, and the four feet. I won’t be able to see any of this once it’s covered in papier mâché, but writing this out helped give me a mental picture of how we were going to put the pieces together.
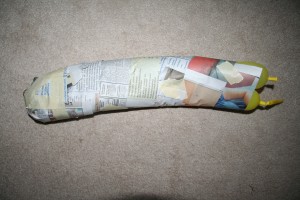
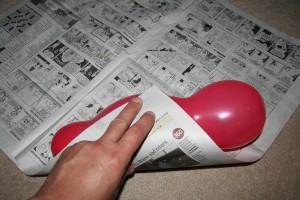
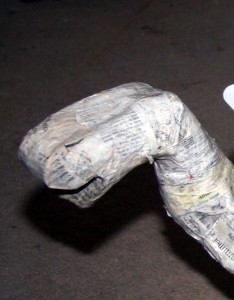
The neck and head are made from a long balloon that has been folded over, taped to itself, and wrapped in newspaper as one piece. After covering this in papier mâché we’ll put a bend in it to distinguish the head from the neck. Dried papier mâché doesn’t bend, of course, so when I say we’ll bend it, I mean we’ll break it where we want the head to be, position the new head, and then patch the break with more papier mâché.
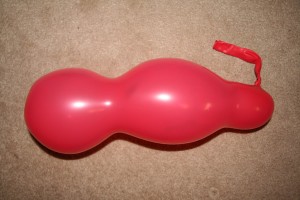
Stegosauruses have thick tails. This balloon will serve as the foundation for the tail.
First we wrapped the tail balloon in newspaper to create a cone shape, then we covered it with papier mâché. It won’t be a smooth cone because this balloon is so bumpy, but that’s okay because the fluffed crepe paper at the end will hide any minor bumps.
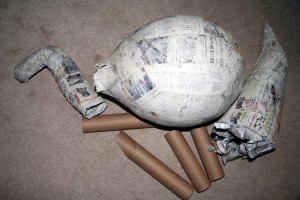
After covering the balloons in papier mâché, we have all the main structural pieces of the stegosaurus. I’ve bent and patched the neck/head, and also put a bend in the tip of the tail. Once we held the pieces up to each other we saw that the tail came out too thick. Before we’re done we’ll cut the tail lengthwise, fold it in on itself to reduce the diameter, and patch it back together with tape and papier mâché. The paper towel tubes are too long for legs right now, but we’ll cut them down to the correct length after they’re attached.
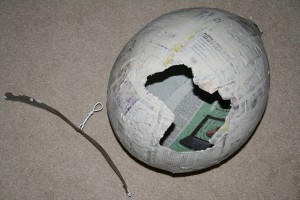
Sometimes I have to wait to install the hanging hook until I have a better idea of what the weight distribution of the piñata will be. In this case the belly is going to contain all the candy so this one can be safely hung from the center top. First, we made a hanging hook [Adding a hanging hook] and cut a hole to insert it. We saved the piece we cut away, because we’ll tape it back on in the next step.
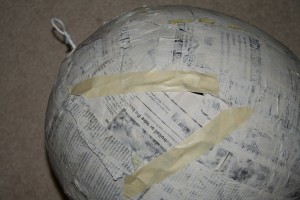
The hook is installed from the inside, taped in place on the inside, and then the hole is covered. In this case our hanging hook was already twisted into a loop before we installed it. This means we needed a slightly larger hole to push the loop up through. The little bit of extra hole around the hook can be closed up with masking tape or papier mâché.
We added a layer of papier mâché over the masking tape to cement it shut. To dry it quickly we set a fan blowing on it. With only one layer of papier mâché covering the cut, this is a weak point in the piñata. If you don’t want a weak point, add a second layer or even a third layer of papier mâché over the cut.
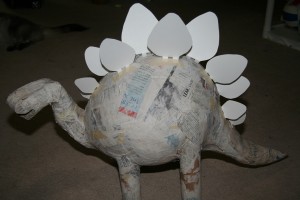
The pieces of the stegosaurus are assembled using masking tape and then cemented in place with papier mâché. You can that see the tail is thinner now than it was earlier. We made plates out of card stock for the stegosaurus’s back – these will serve as templates for making the cardboard plates that will go onto the final piñata. The legs haven’t been cut down yet, and are still too long. At this point the tail doesn’t even reach the floor.
Notice that the legs, neck, and even the tail look a little skinny for that big round body. When we decorate with fluffed crepe paper later on, all those skinny parts will fatten up a little, and the final proportions will be more of what I have in mind. Fluffed crepe paper always fattens up your piñata, especially the skinny parts like arms, legs, and tails.
At this stage we also cut a mouth into the face and closed up the opening with papier mâché.
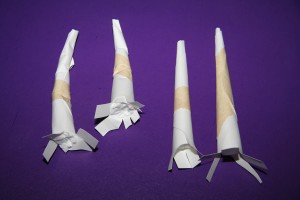
For the tail spikes we made cones out of card stock, stuffed them with cotton so they wouldn’t collapse, and then I crunched them in my hands to give them a little upward curve. The two spikes on the right in this photo haven’t been bent yet. The two on the left are ready to attach. The spikes were taped onto the tail using the flaps at their bases. I don’t remember whether or not we put papier mâché over the spikes before we decorated. We might have just securely taped the paper spikes onto the tail and then decorated without using any papier mâché first, like we did with the Demon Smiley’s horns.
We’ve finally started decorating! The stegosaurus’s back has a series of slots cut into it just like a slot in a piggy bank. The plates are made from corrugated cardboard and are covered with crepe paper that is attached using double-sticky Scotch tape. We wrapped the tail spikes in white crepe paper to cover the crunching and give them a smooth surface. But I was so excited to finally get to the decorating that I forgot all about the stripes. I should have drawn some guide lines on the body to remind me where the stripes should go.
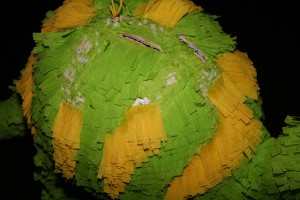
To add the stripes, I first used a razor blade to scratch lines into the piñata where the stripes will go. That game me some lines to work with. Then I tore off the green crepe paper in those places. It won’t all come off, but that’s okay.
The cardboard plates were not glued onto the body, they were simply pushed into the slots. The fit was tight enough that I didn’t need to glue them to make them stay. We designed it that way so we could decorate the body and then slide the plates in when we were done. That design made it easy to remove the plates when I had to go back and add the stripes. The stripes are applied starting at the bottom and working toward the top.
The stripes are done. All that’s left is reinserting the plates, adding the eyes and covering the mouth, and then fluffing up the crepe paper.
Here is the door for filling the piñata. To create a door we used a kitchen knife to cut three sides of a rectangle, and pulled the door open a bit. Once the piñata is filled we’ll push the door back down, and when the crepe paper is fluffed up, the door becomes invisible.
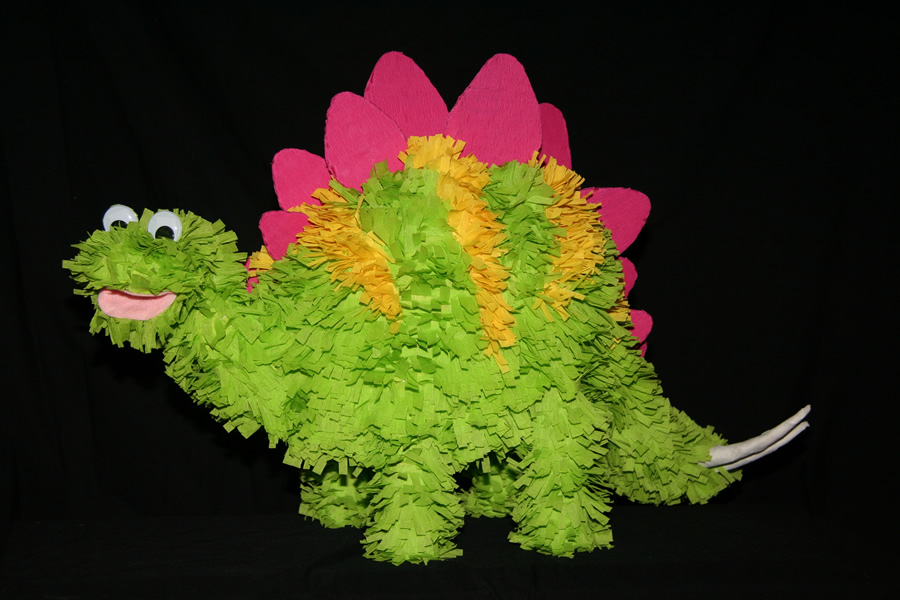
A pink felt mouth and two googly eyes finish the decorations, and this one’s ready to roar!
To read more about this piñata, click through to the Stegosaurus Gallery page.

