Piñata Boy
  • Home
  • Gallery
    • Alien
    • Jaguar
    • Princess Ducky
    • Alien Planet
    • Jimmy Kimmel Live
    • Rainbow Zebra
    • Demon Smiley
    • Medusa
    • Santa Smiley
    • Dolphin
    • Neopets – Feepit
    • Shark
    • Football
    • Neopets – Shoyru
    • Smaug
    • Ghost and Bat
    • Parrot
    • Stegosaurus
    • Green Dragon
    • Pigasus
    • Tarantula
    • Heart
    • Pirates of the Caribbean
    • Tropical Fish
    • Hello Kitty
    • Pokeball
    • Warlord of Nibblecheese
    • Jack-o-Lantern
    • Porcupine Pufferfish
    • Coloring Pages!
    • Jill-o-Lantern
  • Make Your Own
    • Before you start
    • Adding the hanging hook
    • Smashing your piñata
    • How to make a piñata
    • Decorating your piñata
    • Storing your piñata
    • Working with balloons
    • Decorating with crepe paper
    • Simple Piñatas
    • Working with cardboard
    • Cutting the candy opening
    • Step-by-step instructions
    • Working with papier mâché
    • Making a piñata stick
    • Ask a Question
  • Show Us Yours
  • Blog
  • About

How to make a piñata

(click photos to see enlarged)

There’s no rulebook on how to make a piñata. Any way you want make one is fine, as long as your partiers can safely break it open to get to the goodies inside.  The instructions I offer here are what works for me, but other piñateros might do things differently and you shouldn’t feel limited by the methods I use — in fact, I’m always experimenting with new techniques myself in order to create new and different piñatas.  In general, however, I most often use balloons and newspapers to make my piñatas, with a papier mâché paste made from flour and water.  I find that approach to be easy and inexpensive, so that’s where we’ll start.

Here’s how I usually make a piñata. If you want more detail about any of the steps below, click on the links to the left.

1) Begin with a picture or sketch of what I want to make.

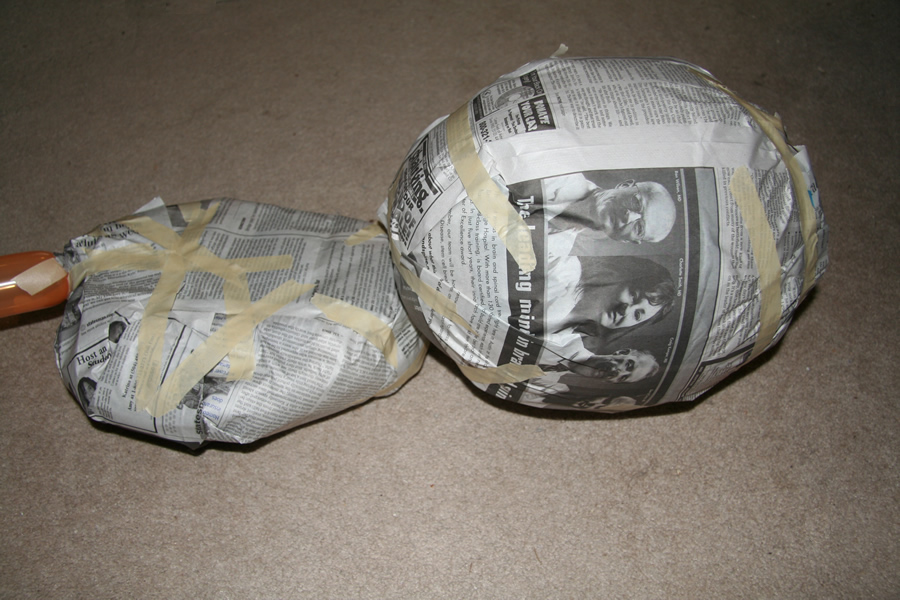
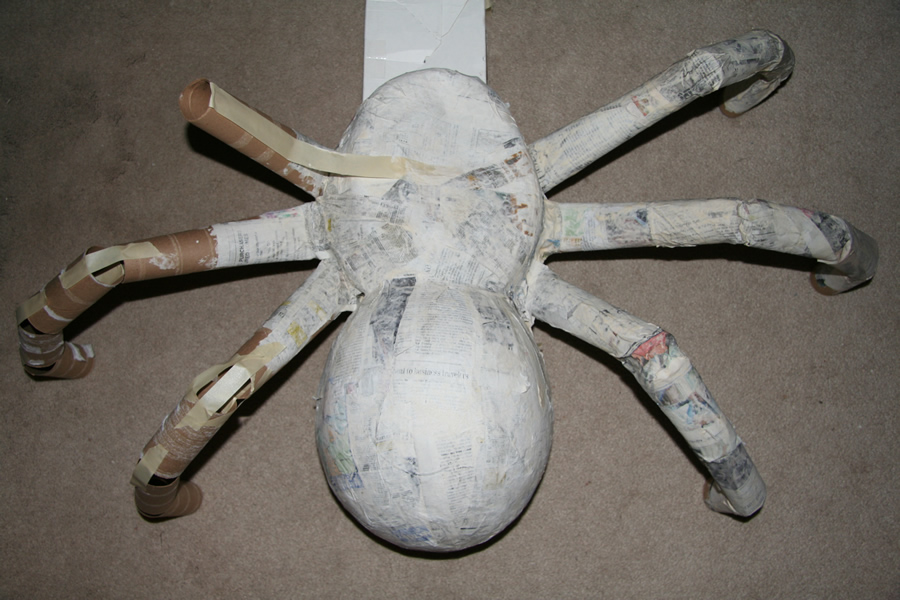
2) Blow up balloons to the sizes I need and wrap them in newspaper, the tighter the better.  I try to minimize the number and size of the bumps, but they can’t be eliminated altogether.

Make 02

3) Mix up a batch of papier mâché paste. Dip strips of newspaper into the paste and lay them on the newspaper-wrapped balloons. Allow each layer to dry before applying the next one.  Check out the Working with Papier Mâché page for more details on this step.

Make 03a    Make 04a

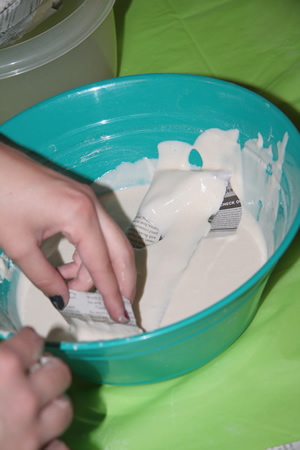
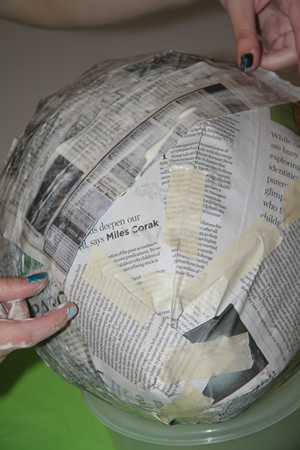
Usually 2-3 layers of papier mâché strips is enough if I wrapped the balloon in newspaper before I started. If I didn’t, or if I’m using a large punch ball balloon, I might need to apply 4-5 layers of paper mâché before popping the balloon.

4) Poke a hole in each piece, then pop and remove the balloon.  To close up the hole I’ll usually put on a layer of papier mâché, but sometimes I’ll just cover it with masking tape and then decorate right over the masking tape.

5) If I’m making a structured piñata, I’ll assemble different pieces of the piñata using masking tape to hold them together, then apply two or sometimes three layers of papier mâché strips to cement them together, letting each layer dry before the next one is added. I also insert the hanging hook now if that wasn’t done earlier.

Make 05   Make 06

6) If the walls of the piñata ended up too thick, I score them or stab them with a knife to weaken them. Sometimes I’ll reach into the piñata through a hole and remove some layers of dried papier mâché from the inside.

Make 07

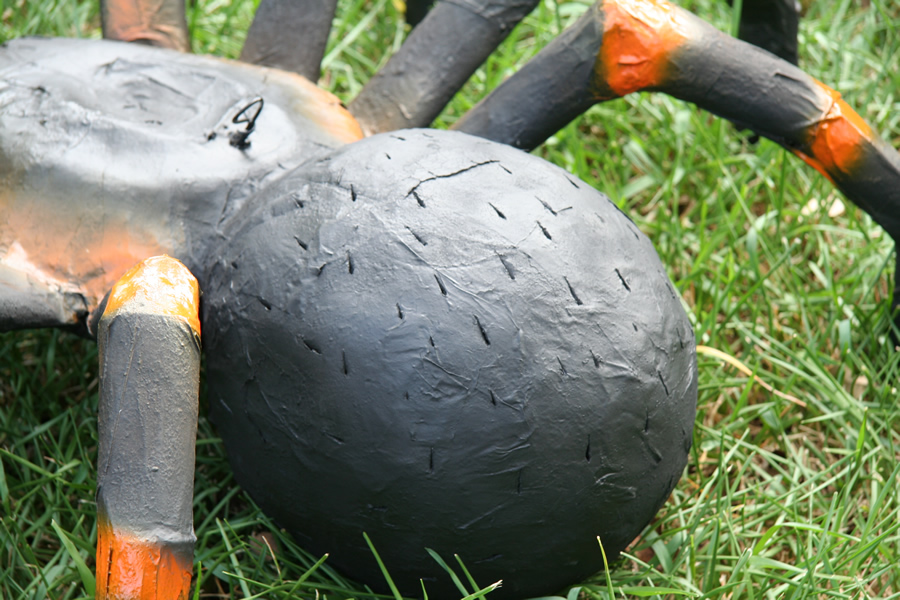
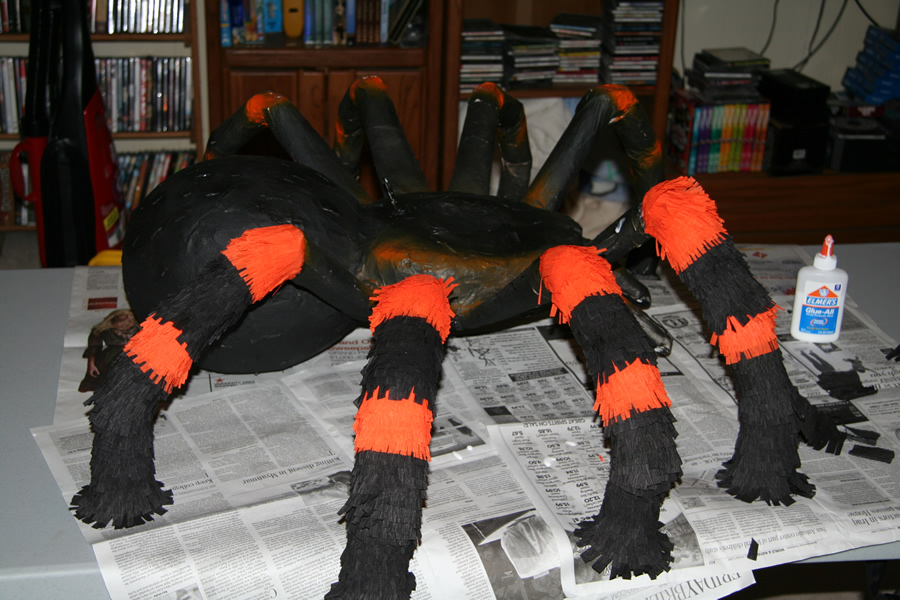
7) Decorate the piñata when the completed papier mâché sculpture is dry. I often use snipped crepe paper to decorate my piñatas, but you’ll see lots of other other methods used here as well.

Make 08   Make 09

If you’ve never made a piñata before, give it a try! You’ll be surprised at how easy it is to get great results the first time.

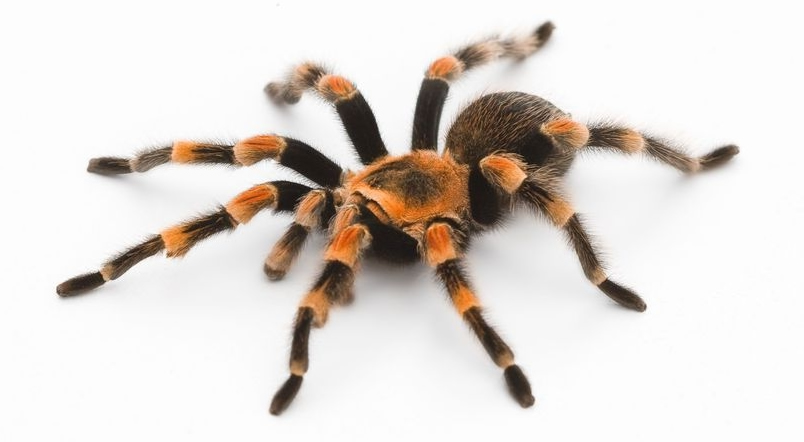
For more details on how to make a spider piñata, click through to the Make a Spider page.

<< Before you start
Working with balloons >>

Make Your Own

  • Before you start
  • How to make a piñata
  • Working with balloons
  • Working with cardboard
  • Working with papier mâché
  • Adding the hanging hook
  • Decorating your piñata
  • Decorating with crepe paper
  • Cutting the candy opening
  • Making a piñata stick
  • Smashing your piñata
  • Storing your piñata
  • Simple Piñatas
  • Step-by-step instructions
    • Make a Heart
    • Make a Pig
    • Make a Tropical Fish
    • Make a Spider
    • Make a Stegosaurus
    • Make a Zebra
  • Ask a question!
Piñata Boy
All materials © 2025 Piñata Boy. All rights reserved. Web site by Websy Daisy.

MENU
  • Home
  • Gallery
    • Alien
    • Alien Planet
    • Demon Smiley
    • Dolphin
    • Football
    • Ghost and Bat
    • Green Dragon
    • Heart
    • Hello Kitty
    • Jack-o-Lantern
    • Jaguar
    • Jill-o-Lantern
    • Jimmy Kimmel Live
    • Medusa
    • Neopets – Feepit
    • Neopets – Shoyru
    • Parrot
    • Pigasus
    • Pirates of the Caribbean
    • Pokeball
    • Porcupine Pufferfish
    • Princess Ducky
    • Rainbow Zebra
    • Santa Smiley
    • Shark
    • Smaug
    • Tarantula
    • Stegosaurus
    • Tropical Fish
    • Warlord of Nibblecheese
    • Coloring Pages
  • Make Your Own
    • Before you start
    • How to make a piñata
    • Working with balloons
    • Working with cardboard
    • Working with papier mâché
    • Adding the hanging hook
    • Decorating your piñata
    • Decorating with crepe paper
    • Cutting the candy opening
    • Making a piñata stick
    • Smashing your piñata
    • Storing your piñata
    • Simple Piñatas
    • Step-by-step instructions
    • Ask a Question
  • Show Us Yours
  • Blog
  • About