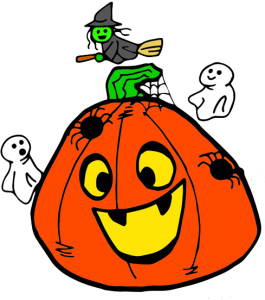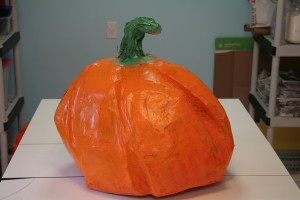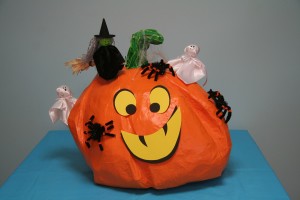
This wacky jack-o’-lantern piñata didn’t come out at all the way I intended. I planned to make a symmetrical pumpkin covered with fluffed-up crepe paper, but somehow this jack-o’-lantern got himself made his own way instead of mine – and in the end it turns out I like his way better.
It started as a competition to see who could make a better jack-o’-lantern piñata, me or Kerry working with our friend Cat.
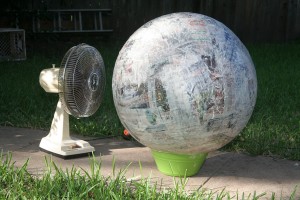
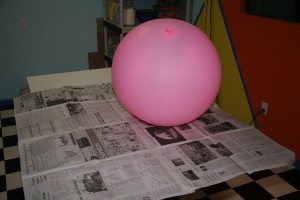
I thought I could make a perfect pumpkin shape by making a sphere, cutting vertical slits in the sides, and then squashing it down a little. The slits would widen out as it was squashed, and all I would have to do then is close up the gaps and I’d have a nicely symmetrical pumpkin with indented ribs. I went big – really big.
Too big. As soon as the slits were cut, the papier mâché collapsed under its own weight. FAIL.
I was still convinced my plan would work. I just needed to use a smaller punch ball, that’s all.
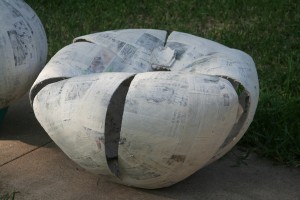
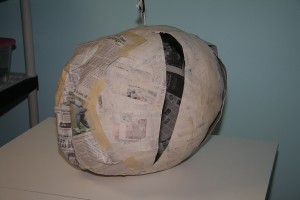
But when I cut the slits, the papier mâché pumpkin once again squashed under its own weight. And since the slits were not cut symmetrically, the papier mâché collapsed sideways into a lopsided mess. (It is partially supported in this photo by a rope attached at the top.) By now Cat and Kerry had a perfect papier mâché pumpkin, and they were already finished with their crepe paper decorating. I didn’t have time to start over for a third attempt. So I covered the cracks with newspaper and papier mâché the way I had originally intended. I would just have to make it work. I hoped that when I got to the decorating stage the crepe paper would hide a lot of the damage.
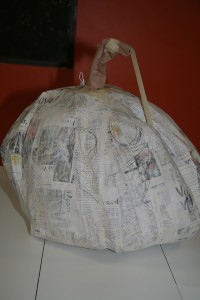
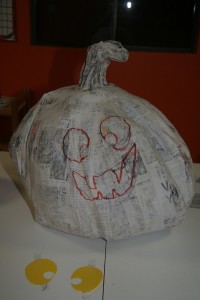
I added papier mâché to strengthen it until my pumpkin could finally sit up on its own. It was still a lopsided mess, but in goofy, fun kind of way. Just like on a real pumpkin, I had to search around for the best spot to put the face.
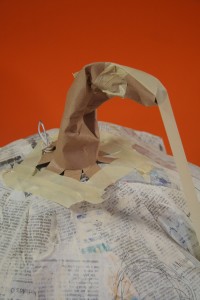
The stem was made oversized on purpose because the fluffed crepe paper would bury the bottom half inch of the stem. The stem is a paper towel tube that has been cut shorter, crunched up, and bent over. I’ll papier mâché over it to strengthen it and give it a more realistic stem shape.
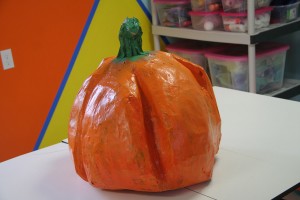
Finally ready to decorate! My pumpkin doesn’t have ribs so much as it has deep gashes. Cat and Kerry’s pumpkin looked just like a pumpkin before it was decorated. I suspected the fluffed crepe paper might bury their perfect pumpkin ribs, and that’s exactly what happened. I wanted my ribs to be deeper so they would still be visible after the crepe paper was fluffed up. I had two rolls of pumpkin-orange crepe paper that I bought years earlier, but I knew that wouldn’t be enough. When I went to buy more, I found out the company had changed its dyes and their old pumpkin color was no longer available.
The only orange crepe paper that was available now was the same bright orange color that Cat and Kerry were using on their piñata. That color of orange just wasn’t right for my off-kilter Jack-o’-lantern. From the very beginning I had designed this piñata to be covered with crepe paper, and now I was forced to paint instead. All my papier mâché mistakes would be visible in plain sight.
Here’s another view showing the deep gashes in my pumpkin. I was pretty angsty at the time about not being able to hide them with crepe paper. Also notice that the newspaper shows through the paint because I didn’t use a stain-blocking primer before I painted.
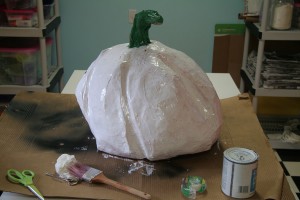
I painted over the orange with a stain-blocking primer to prevent the newspaper from showing through. I’ll have to paint orange again on top of that.
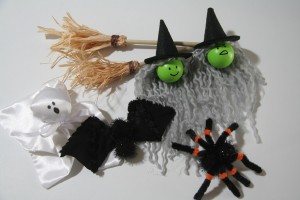
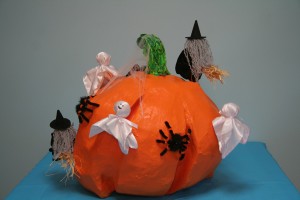
My plan for decorating the pumpkin was to make various Halloween figures and stick them all over the piñata. My wife Linda made the ghosts, spiders, and bats. I ended up not using the bats. I made the witches and their brooms, and Linda sewed black velvety robes for them.
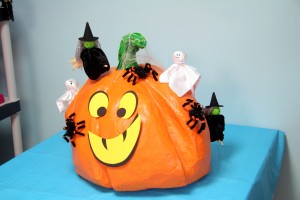
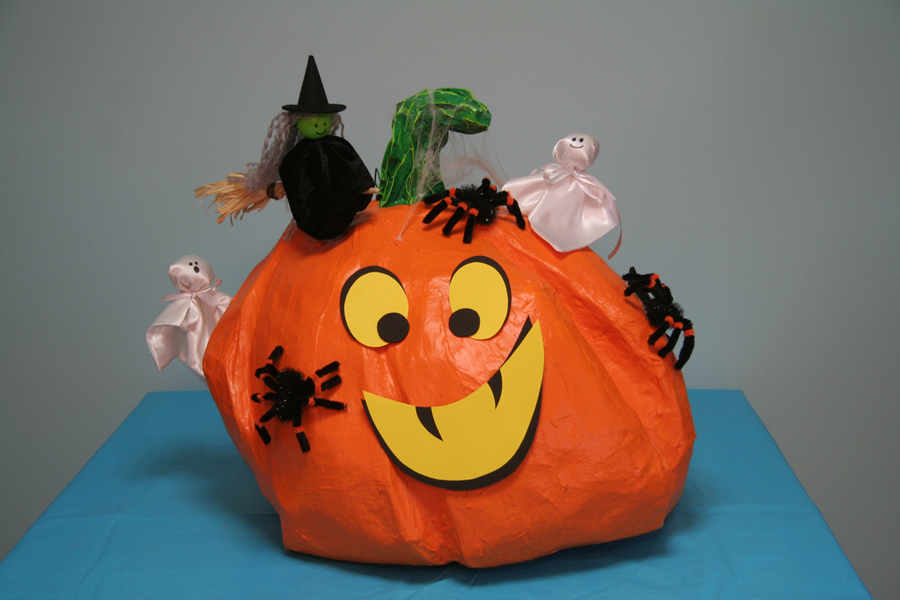
Here’s the completed goofy gourd. The eyes were originally made from card stock, but because the other decorations stood out so much, I remade the face using thin foam sheets to give them a little more of a 3-D effect.
The piñata was decorated all the way around. Three ghosts, two witches, and four spiders. All of the figures are removable before the whacking starts so they don’t get broken.
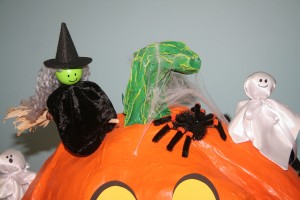
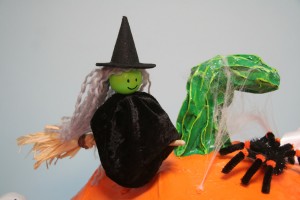
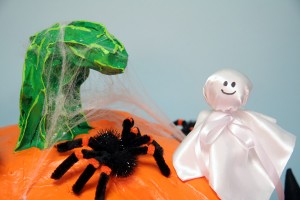
That’s some store-bought Halloween spider web stretched over the stem. It’s hot glued down at the points, and the hot glue is painted over with orange.
The witch’s head is a styrofoam ball painted green, with a face drawn in marker. The body underneath the robe is just a wire frame made from a bent shirt hanger. She’s attached to her broom, and the witch and broom come off the piñata as one piece. I made the witch hats out of cardstock and glued black felt onto them. The broomstick is a wooden dowel rod with some raffia hot glued on. Then I wrapped twine around the raffia and colored the twine with a brown marker.
I was really happy with the way the stem came out. The spider is made from two puff balls sewn together, with black and orange pipe cleaner legs sewed into the middle. The ghosts are pieces of cloth wrapped around a wadded up cloth head and then sewn closed, with a white ribbon tied around the neck.
In the end this piñata came out silly and fun and with a great personality. In hindsight, the problems that I spent so much time stressing out over – the blobby shape and the lack of crepe paper – are really what helped make this piñata so goofy. He just flat out loves himself warts and all, and so do I. I hope your Halloween is as happy as his!
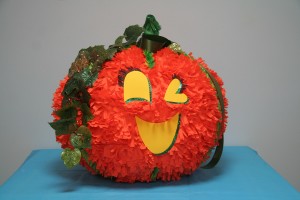
If you want to see what Cat and Kerry made while I was making this, click through to see their fabulous Jill-o’-lantern.

