Let’s make a spider piñata!
Although spider piñatas are not difficult to make, they take some time during the construction phase with papier mâché because there are many body parts that have to be made separately and then assembled together. Each step with the papier mâché requires at least a few hours of drying time, and that makes the whole process take longer.
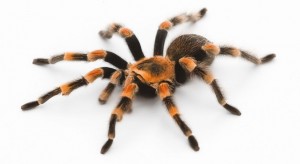
For my spider piñata I used a picture like this one as a guide. The spider has a big round abdomen, a flat cephalothorax (the spider’s head and chest), and eight long spindly legs.
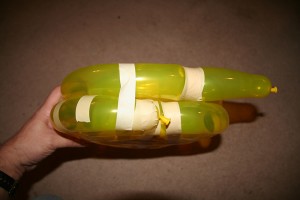
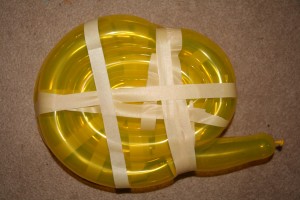
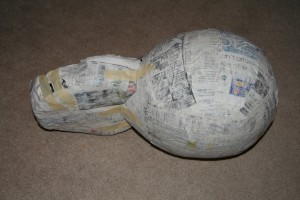
To make the cephalothorax I rolled a long thin balloon into a tight circle and taped it in place. Then I pulled some masking tape around the circle to reshape it, giving it a narrower front. I did the same thing with a second balloon and taped it on top of the first one.
One of the balloons was a little longer than the other, so I had a piece sticking out. That’s not a problem – once the papier mâché is dry I’ll remove the balloons and patch up the hole.
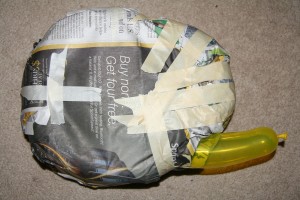
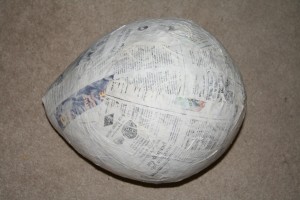
The abdomen was just a party balloon wrapped in newspaper and covered with papier mâché.
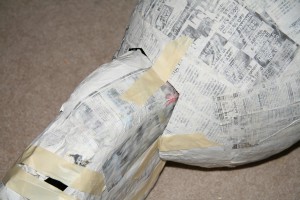
When both pieces were dry, I cut a horizontal slot in the front of the abdomen and slid the back of the cephalothorax into it. I used masking tape to hold it in place then attached it permanently using papier mâché.
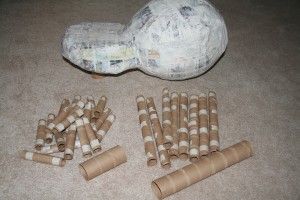
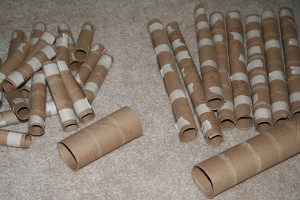
Each spider leg was made from one paper towel tube and three toilet paper tubes. Start saving them now!
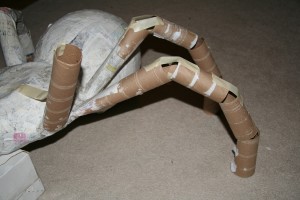
When I made my first spider piñata I used the cardboard tubes right off the roll, but the spider’s legs came out thicker than I expected, and the spider looked more cuddly than creepy. These photos are from my second spider, where I cut the tubes lengthwise, rolled them to reduce the diameter, and then taped them shut. This results in creepier, more spidery legs. Don’t roll the tubes too thin, though, because these legs will have to support the piñata when it’s done.
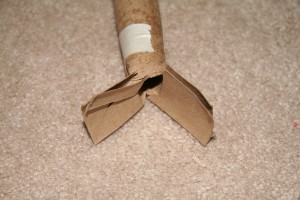
To attach the legs to the body I made a slit at the base of a paper towel tube, then taped the two flaps to the bottom edge of the cephalothorax.
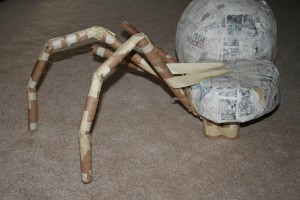
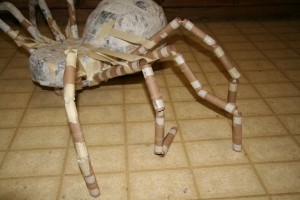
I used masking tape to hold the long segments pointed upward, then taped three toilet paper tubes end to end to form the rest of each leg. The cephalothorax is propped up on two cut off toilet paper tubes to hold it up. The finished spider will rest on its abdomen and on the eight legs.
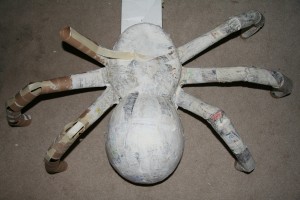
This is what it looks like as the legs are being assembled, before they’re fully taped in place.
The legs are taped together and are ready for the papier mâché.
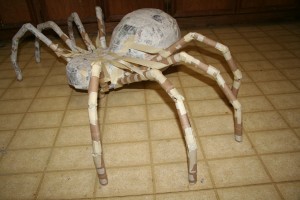
This photo of my first spider piñata shows what the thicker legs look like if you use full-size paper towel and toilet paper tubes.
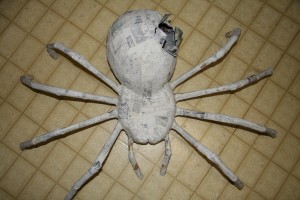
Here is a comparison of the thick legs from my first spider piñata with the spindly legs of the second one. The abdomen is open on the second spider because I was about to insert the hanging hook. Putting the hanging hook into a spider is covered in detail on the Adding a Hanging Hook page, so I’ll skip that part here.
When the papier mâché work was done, the abdomen felt a little too thick so I weakened the walls of the abdomen by stabbing them all over with a knife.
I needed to paint the abdomen because I planned to decorate it with gift bag paper. I went ahead and painted the whole spider even though it wasn’t necessary. I just wanted to see what it would look like. It looked kühl.
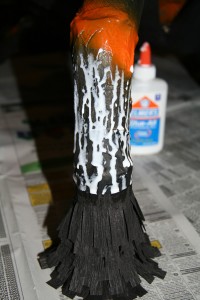
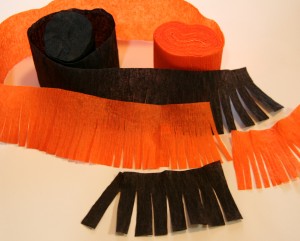
I covered the legs in snipped crepe paper, starting from the bottom and going upward.
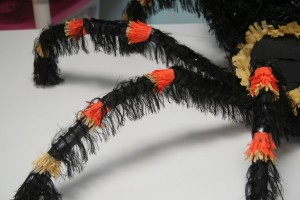
In order to give the joints a slightly different look from the rest of the leg, I snipped the orange crepe paper into a thin fringe, while the black fringe for the legs was wider. I don’t know if anyone but me ever noticed, but I liked it.
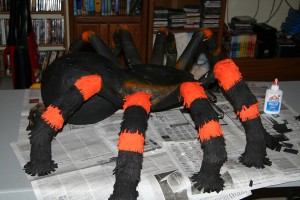
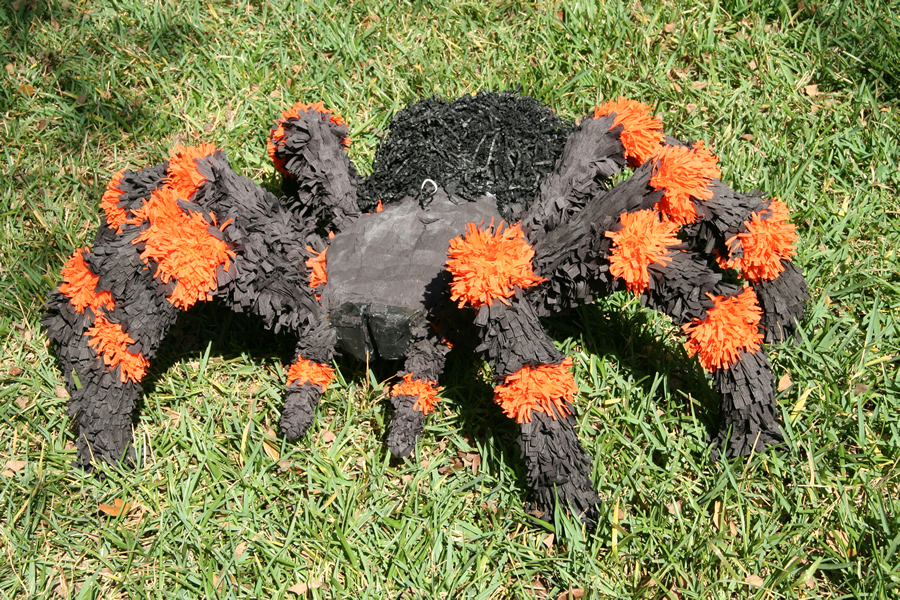
The legs were covered with snipped crepe paper. This is my first Tarantula piñata, the one with the thicker legs. I didn’t take any photos while decorating the second one.
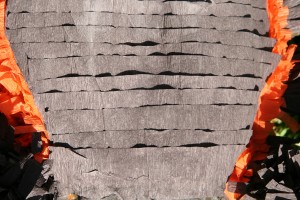
The cephalothorax was covered with flat layers of unsnipped crepe paper.
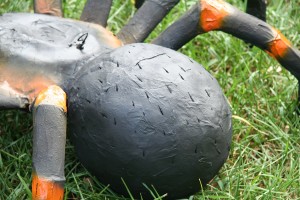
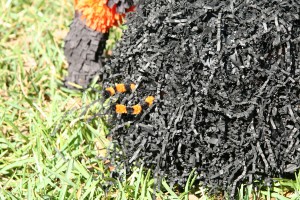
For the abdomen I used black gift bag paper to give it a hairy effect. I sprayed the abdomen with spray adhesive, then pressed handfuls of gift bag crinkles against it and shook off the excess once the glue was dry. Some of the skin of the abdomen showed through the crinkles, which is why I had to paint it black first. I also made two small spinnerets from black and orange pipe cleaners and poked them into holes in the back of the abdomen.
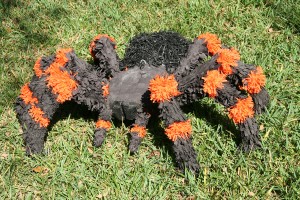
The finished spider turned out pretty well, except that the legs were a little thicker and fuzzier than I intended. The pedipalps on the front of the spider were each made from two toilet paper tubes that had their diameters reduced. Spiders use these like hands to manipulate their food to their mouths while they’re eating.
If I wanted to make a kid-friendly spider, I would choose brighter colors and use toilet paper tubes and paper towel tubes at their original diameters to reduce the creep factor.
After Maker Faire 2007 this piñata was published in CRAFT Magazine Volume 6 (February 2008) along with brief instructions for how to make it.
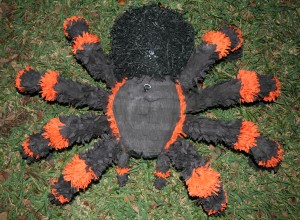
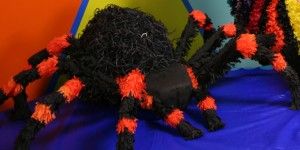
The spider with the thinner legs came out much more spidery, as I expected. I also took almost no photos of the finished spider before I donated it to a local library, but here’s a shot of the finished piñata taken from a larger group photo.
Spider piñatas are not hard to make, they just take some time to get all the pieces assembled. If the weather is cooperative, give yourself a week and you should be able to make steady progress. Most of the time is spent working with papier mâché and waiting for it to dry.
On the Tarantula page you’ll find photos of a third Tarantula piñata that uses a different decorating technique on the legs.

