I use crepe paper so often to decorate piñatas that I felt crepe paper deserves its own page. It’s inexpensive, colorful, and hides my mistakes well. The biggest downside to using crepe paper is the limited number of colors available, but if you’re looking for bright colors to decorate your piñata, crepe paper streamers are a good choice. Here are four different techniques I use for decorating piñatas with crepe paper streamers.
#1) Snipped crepe paper is my favorite technique for decorating piñatas. It’s relatively fast, hides the flaws in the papier mâché underneath, and provides a fun, festive appearance to the finished piñata.
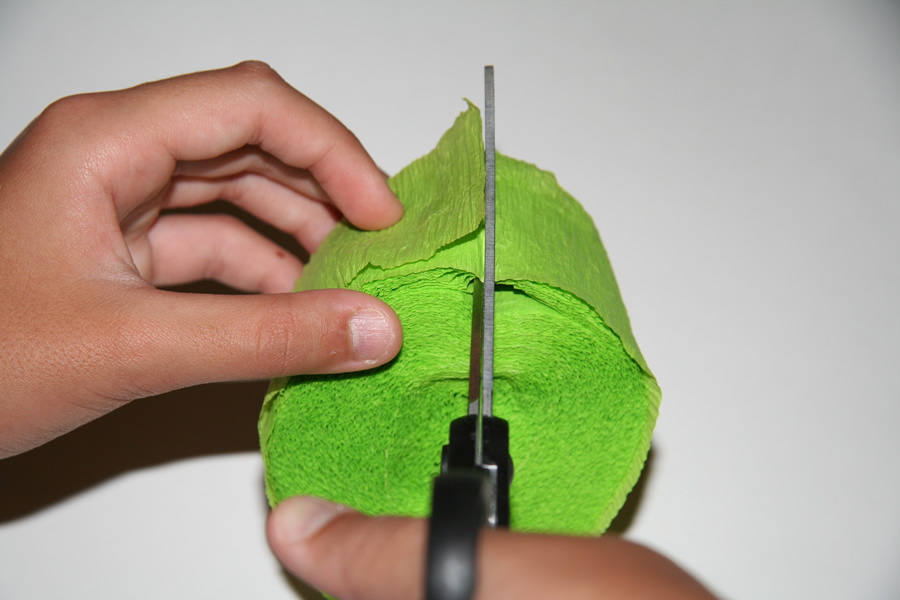
To decorate with snipped crepe paper, first I slide my scissors through the roll of crepe paper, about 6 – 10 layers deep, then cut all the way through.
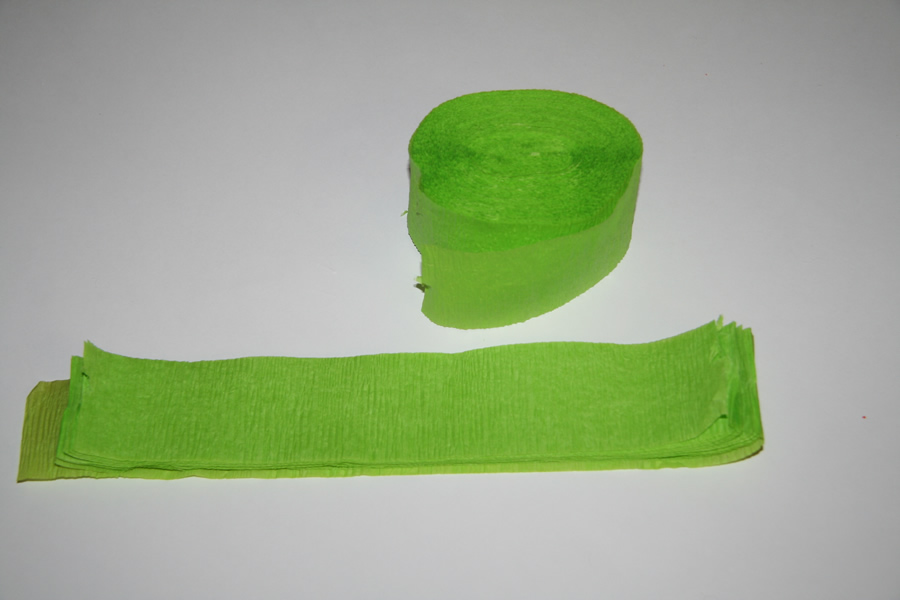
This gives me a small stack of crepe paper strips.
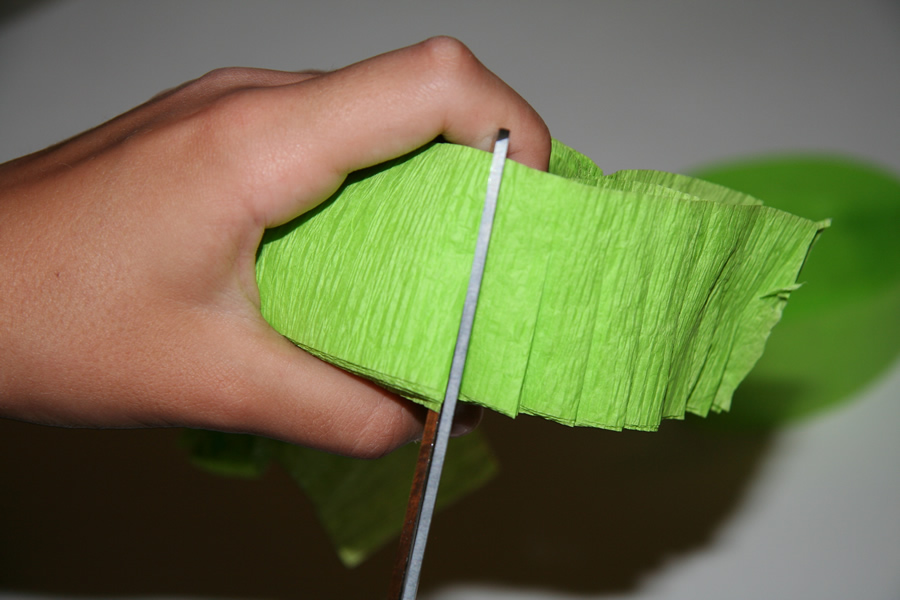
I hold the stack together as I cut a series of snips, each one about 2/3 to 3/4 of the way through to the other side. Be careful to hold the stack together as you snip it – the crepe paper strips will sometimes try to slide apart from one another in your hand as you cut it, and this will result in angled cuts. The snipped part of the crepe paper will become fringe, and the unsnipped “backbone” will cover the papier mâché. If you make shorter cuts (like halfway across) you’ll have shorter fringe but cover the piñata faster. If you cut too far, you won’t be able to cover as much papier mâché and the newspaper might show through.
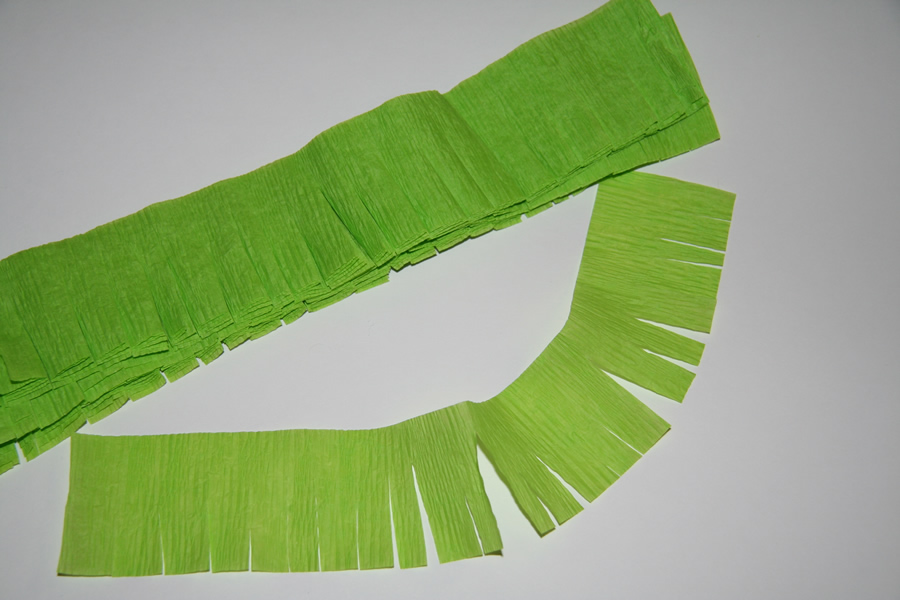
When snipping the crepe paper I usually try to make the snips about 1/4″ apart, but it doesn’t matter how precise you are as long as you’re not horribly off – like cutting one piece 1/2″ wide and the next one 1/16″. Sometimes you’ll want to make narrower snips, and sometimes wider, to achieve different looks. When you’re done snipping you’ll have a stack of fringed crepe paper, ready to glue onto your piñata.
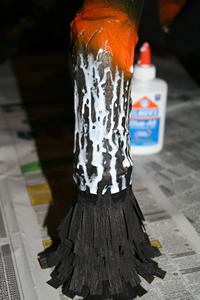
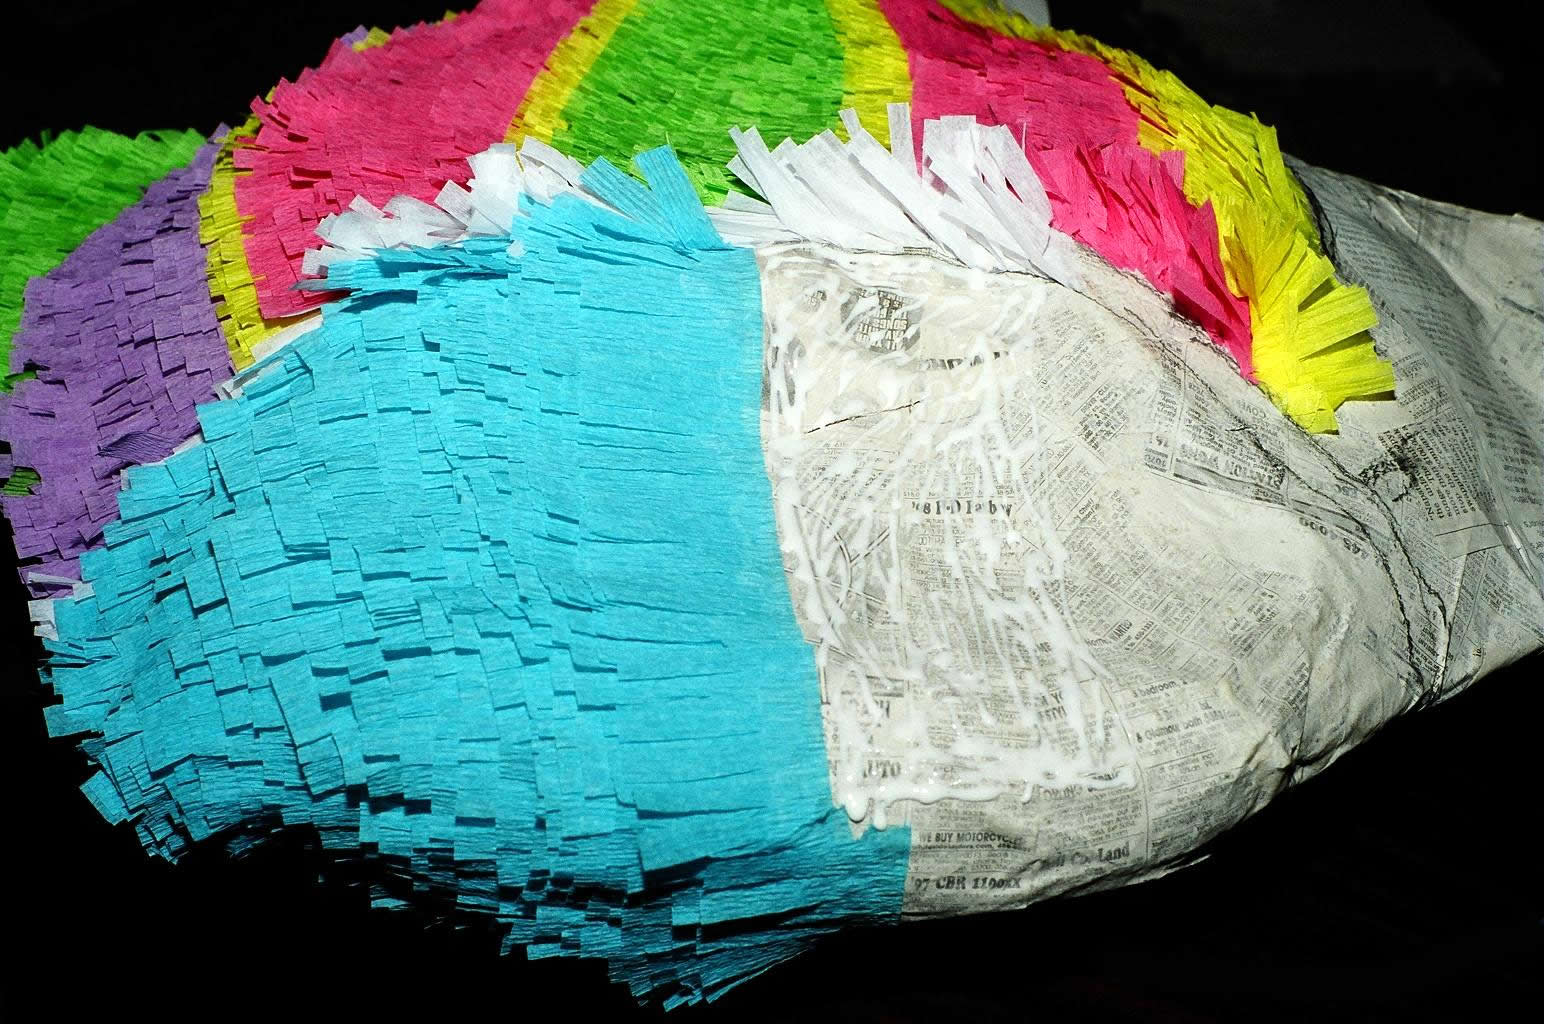
The fastest way to glue the strips onto the piñata is by smearing Elmer’s glue on the piñata itself and then laying the strips onto the papier mâché one layer at a time, working upward from the bottom, like laying shingles on a roof. Only the uncut spine of the crepe paper should be glued on; the fringe lays on top of the layers that came before it, so the fringes never touch the glue.
Working upward on a Tropical Fish. The bottom of the fish is toward the left.
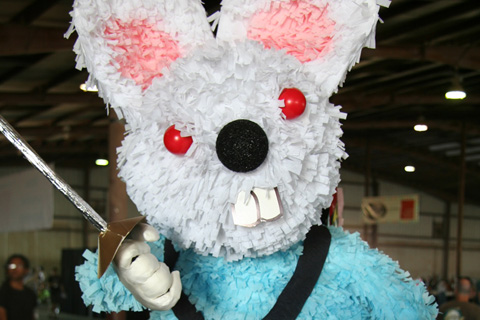
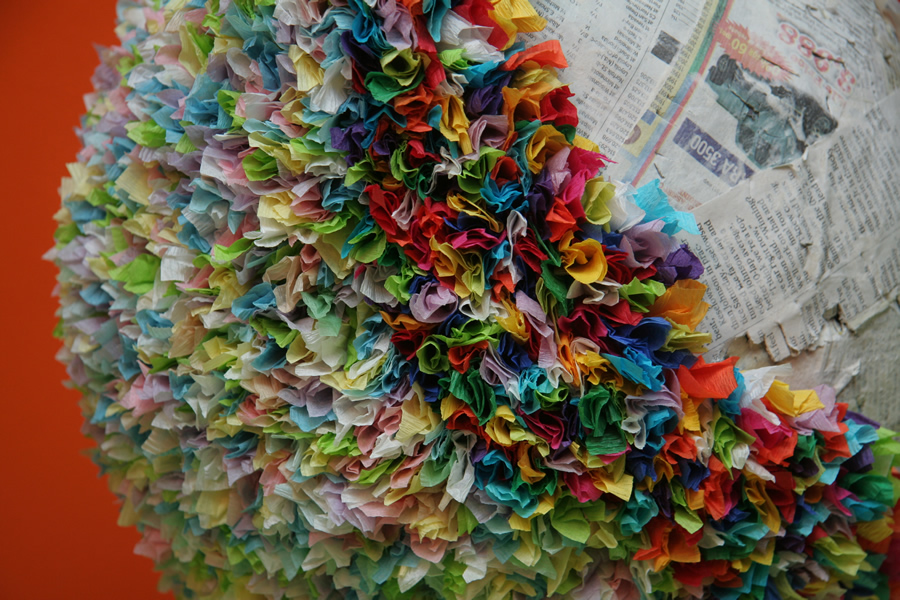
Once the crepe paper fringe is on and the glue is dry, I fluff up the crepe paper by starting at the top of the piñata, using a comb or my fingers to brush the fringes upward, away from the surface of the piñata. Sometimes fluffing the crepe paper exposes a sliver of bare papier mâché where I missed covering it completely. When that happens I just take a small strip of crepe paper and glue it over the bare spot.
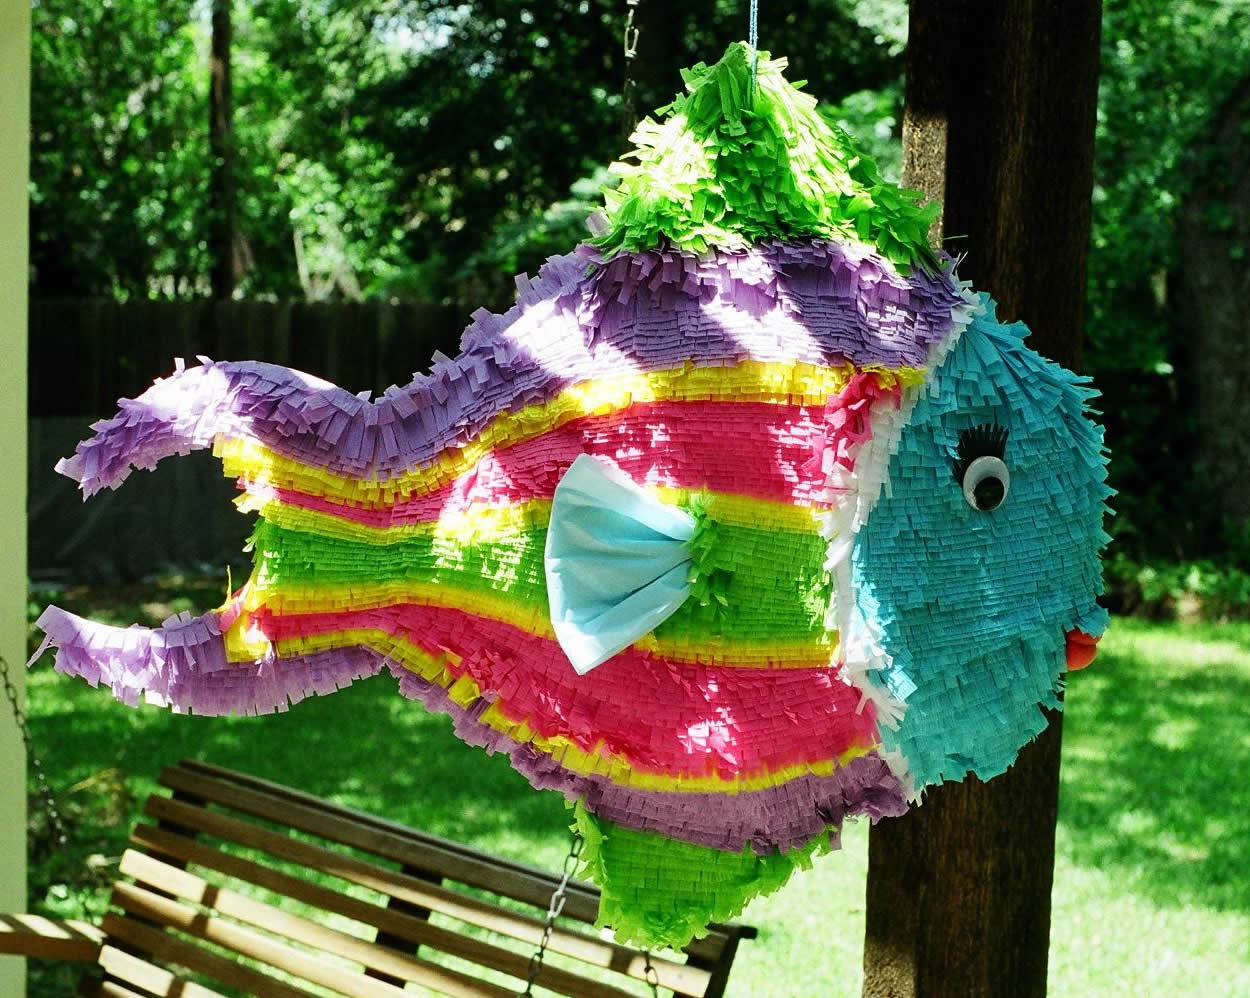
Crepe paper not yet fluffed up.
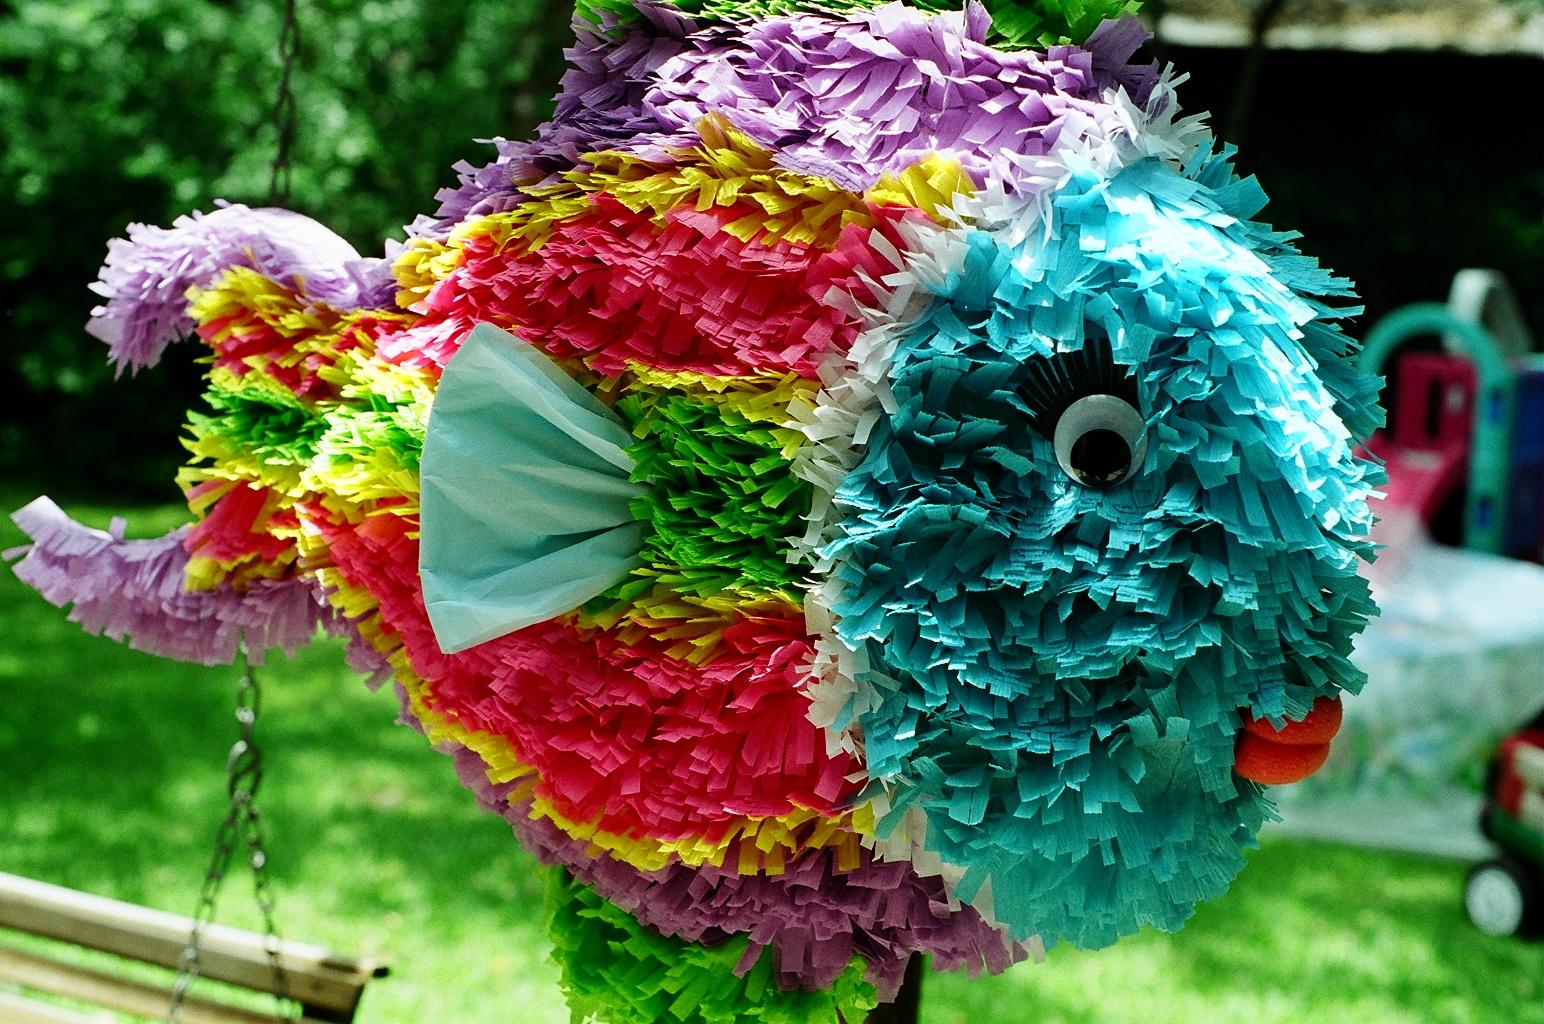
Fluffed up and festive!
Fluffing the crepe paper adds about an inch of thickness to each surface of the piñata, so remember that things like arms and legs will get thicker if you decorate them with fluffed crepe paper.
#2) Occasionally I’ll use another crepe paper technique to create a different texture. I call this the floral technique because the end result looks a little bit like flowers.
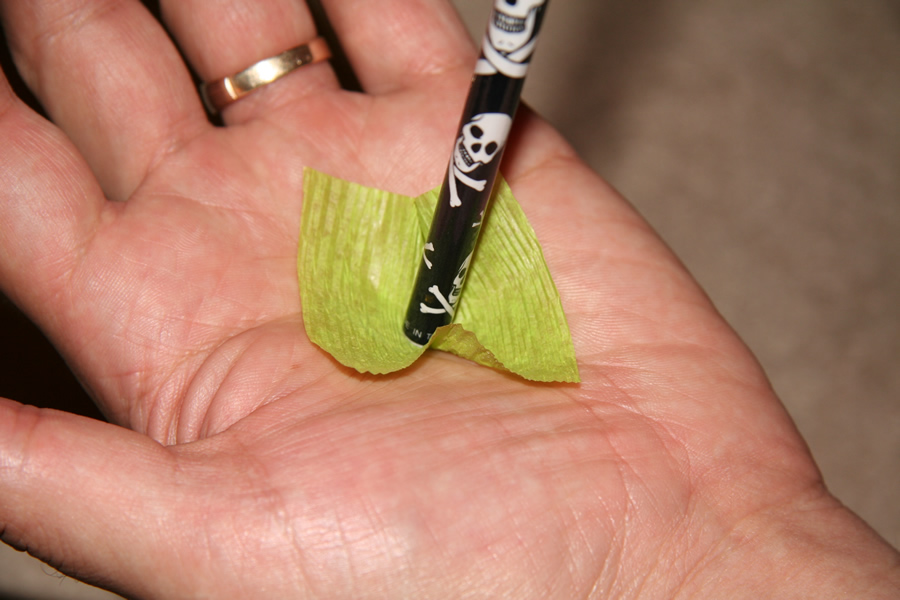
To decorate with the floral technique, first I cut the crepe paper into square pieces. I lay one piece in the palm of my hand and press an unsharpened pencil into the middle of it.
Then I close my hand around the pencil, pressing the crepe paper against the pencil.
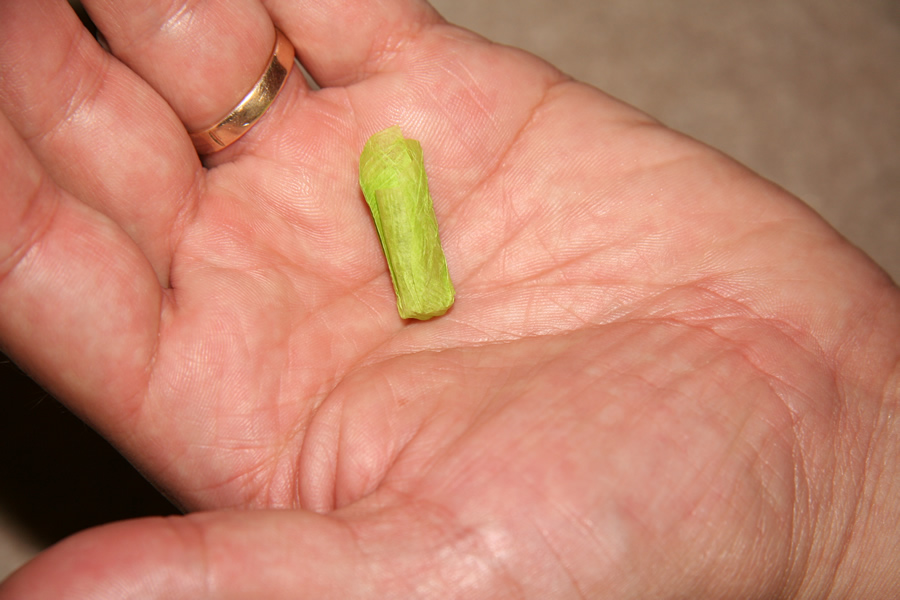
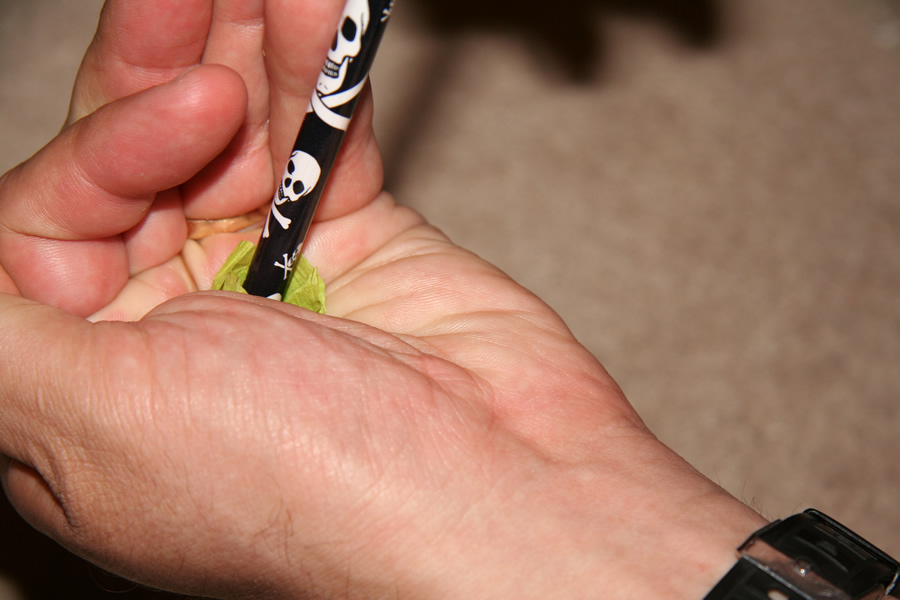
I end up with a small crepe paper cylinder. I took it off the pencil for purposes of this photo, but when I’m decorating, I leave the little cylinder on the pencil for the next step.
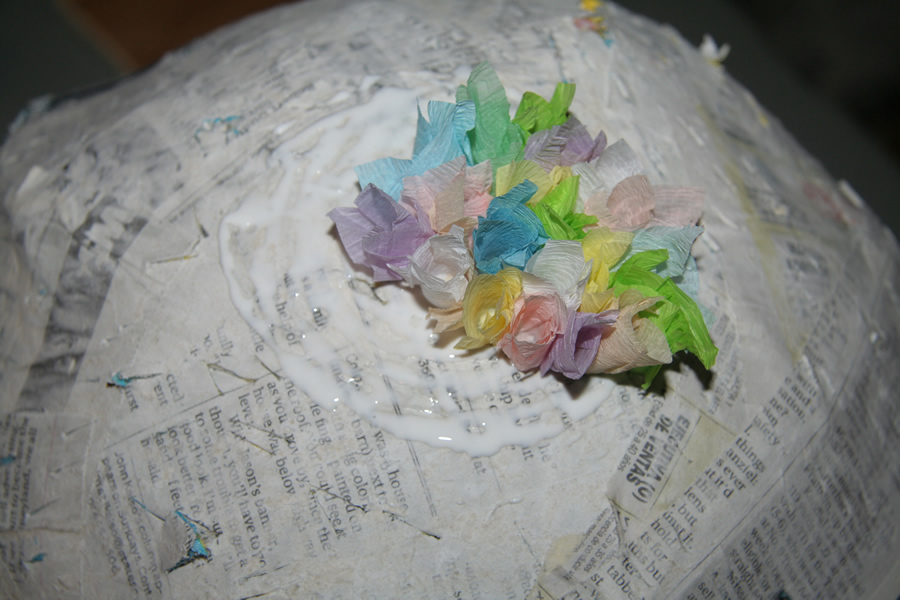
The easiest way to apply these to the piñata is to spread glue on the papier mâché and then, with the crepe paper cylinder still on the end of the pencil, use the pencil to press the cylinder in place.
The floral technique creates a unique texture to the piñata. It takes a long time to cover a large area, however, since each cylinder only covers about 1/16 of a square inch. This technique also creates a soft padding that’s about an inch thick, making the piñata more difficult to break. I usually weaken the walls of the piñata before I decorate this way.
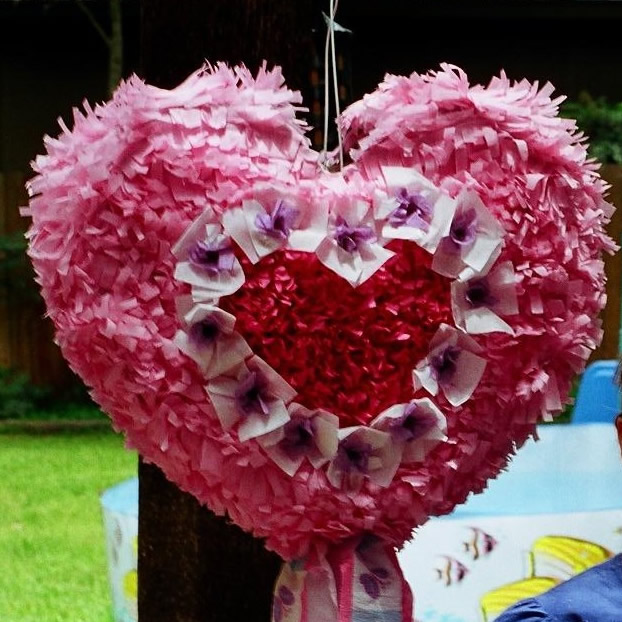
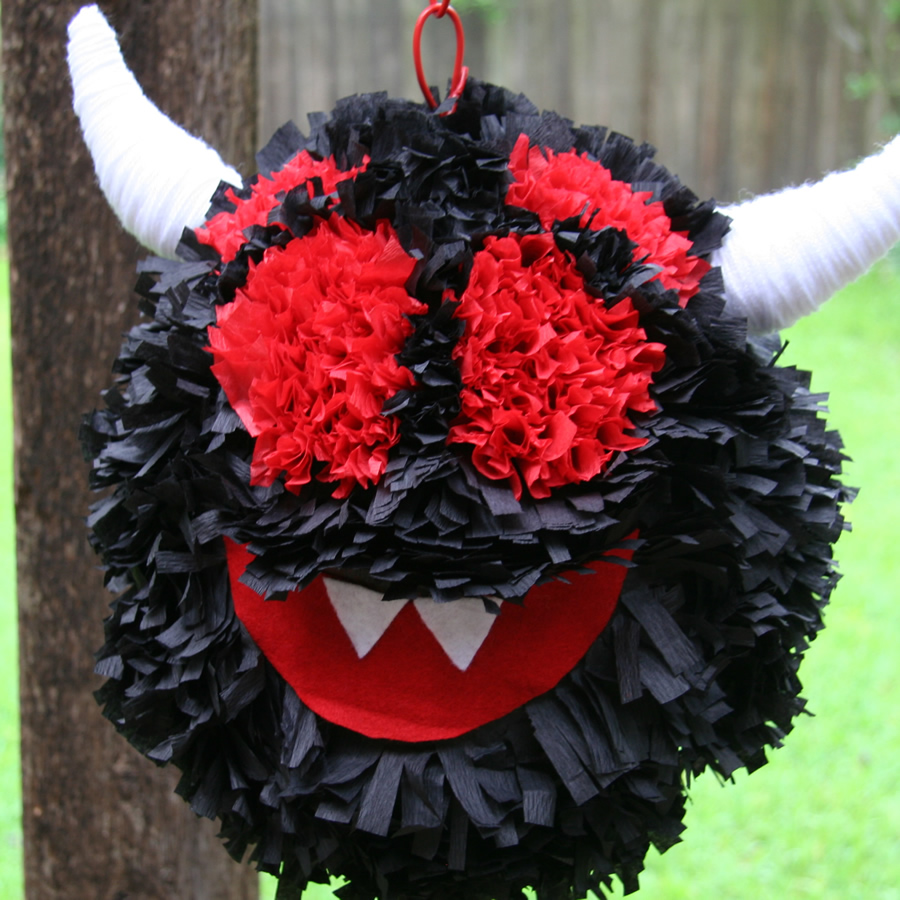
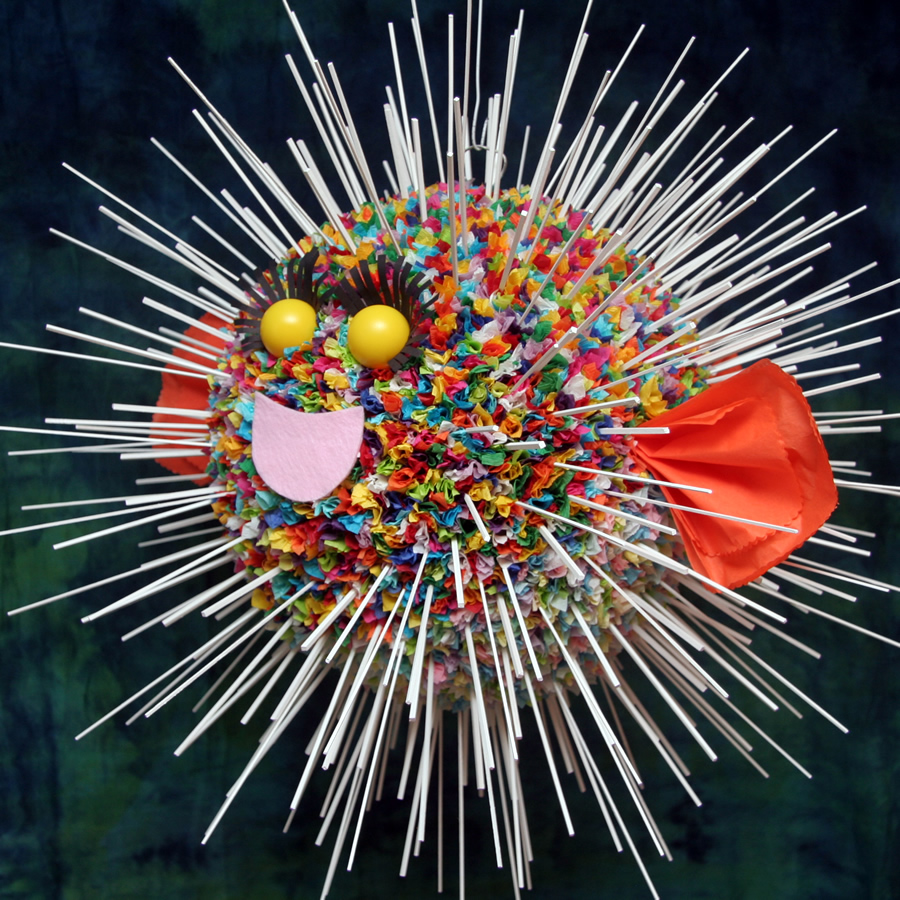
This technique was used on the darker pink center of the Barbie Heart piñata and for the purple centers of the white hearts, for the Demon Smiley’s eyes and eyebrows, and over the entire surface of the Porcupine Pufferfish piñata.
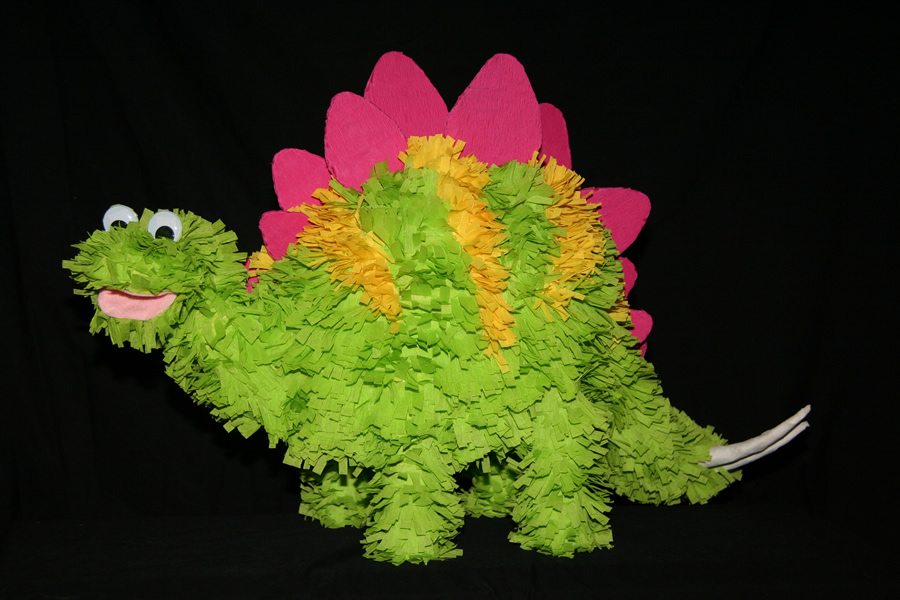
#3) Crepe paper can also be laid directly onto a piñata to create a flat surface. I did this on the cephalothorax of the Tarantula piñata, on the tail of the Warlord of Nibblecheese piñata, and on the plates of the Stegosaurus. When I’m laying crepe paper flat on the surface of a piñata I don’t use glue because the glue soaks through the crepe paper and leaves a splotchy surface when it dries. Instead I attach the crepe paper by applying double-stick Scotch tape to the papier mâché surface and then pressing the crepe paper onto it.

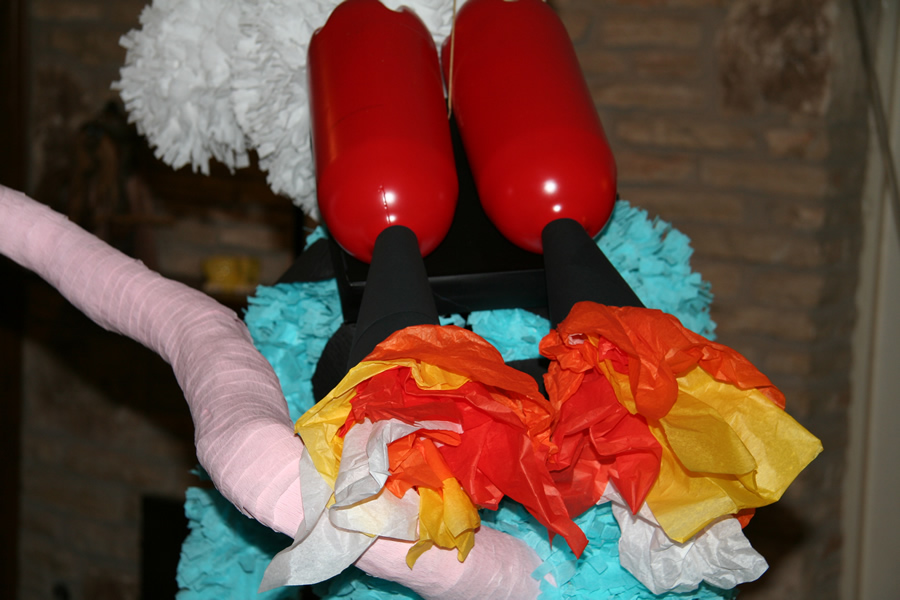
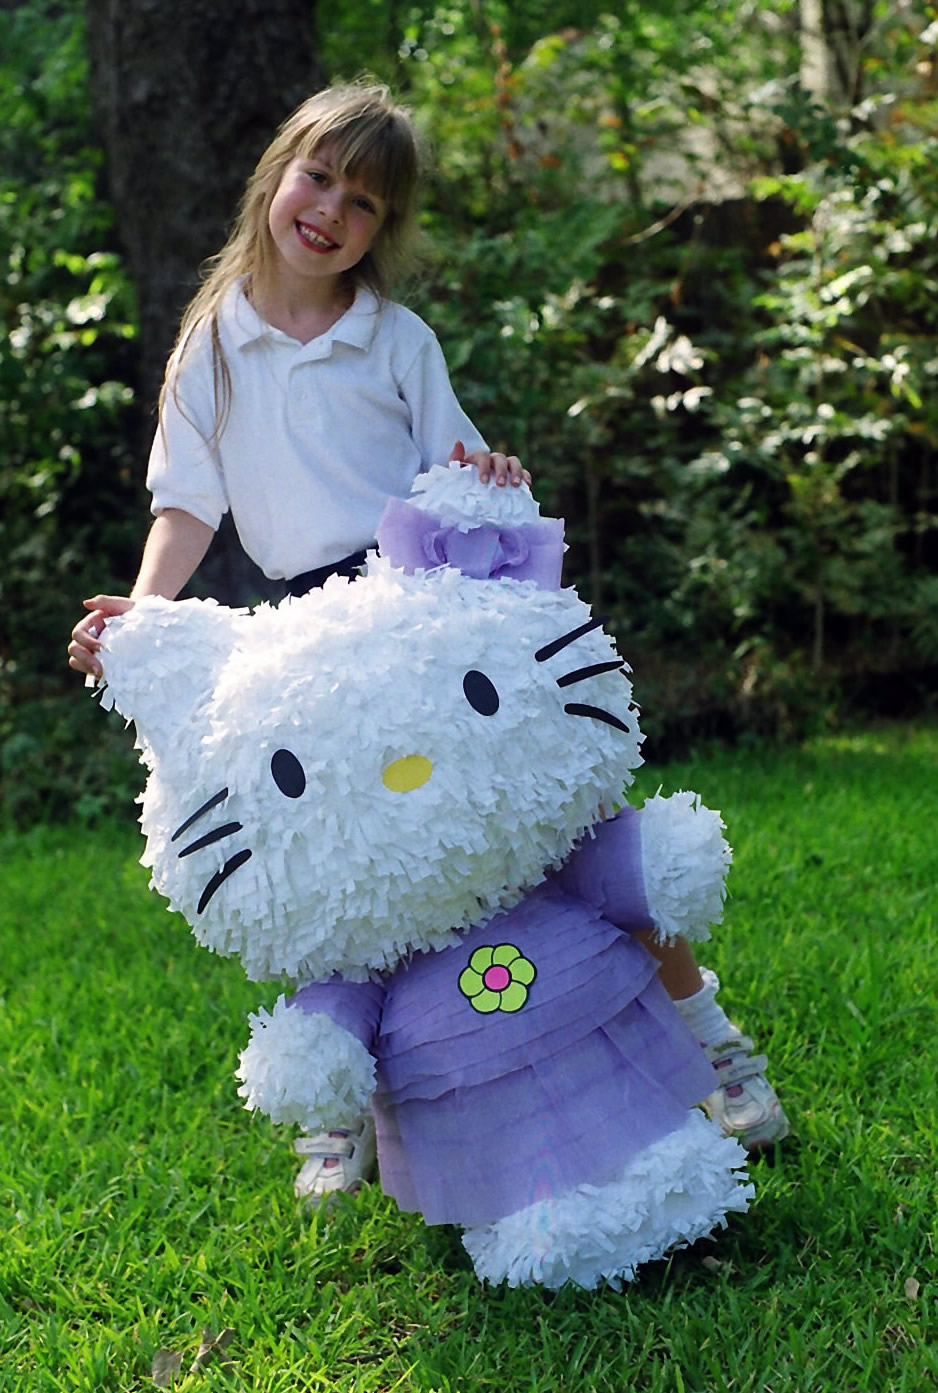
Hello Kitty’s dress was made entirely of pieces of crepe paper streamer taped together.
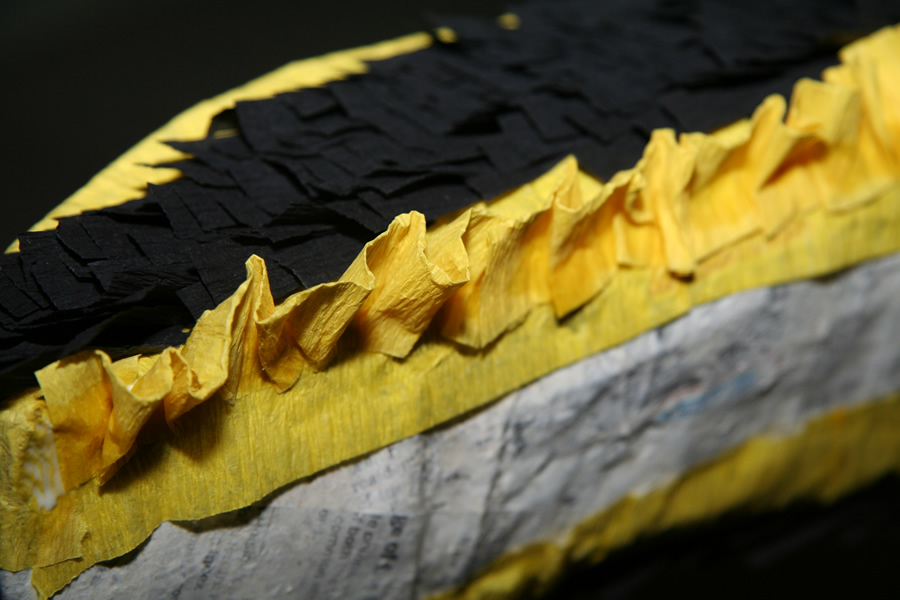
#4) There are other ways that uncut crepe paper can be used to decorate a piñata. I created this rippled edge along one piñata by folding the crepe paper lengthwise, bunching it up a little, and gluing the open end to the piñata with the folded edge facing out.
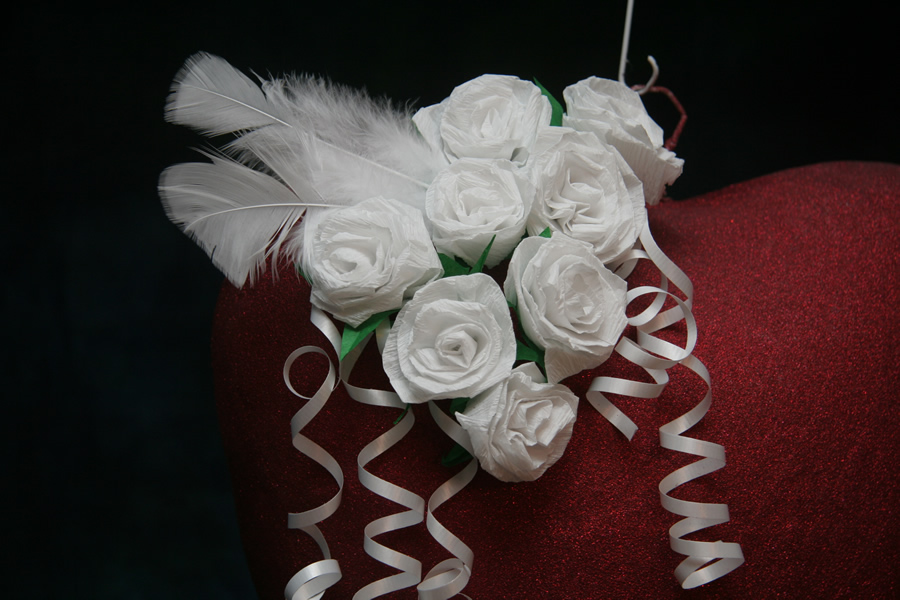
 The white roses on this Heart piñata were also made of crepe paper. Visit the Make a Heart page for a link to the video with instructions on how to make them.
There’s a lot you can do to enhance the look of your piñata using crepe paper and a little imagination. The bright colors and texture are great for making your piñata more festive, and it’s also wonderful for hiding mistakes in the papier mâché. Overall crepe paper is hard to beat for general purpose piñata decorating.